How are they made?
People tend to ask the same questions about my stencil spray paint works.
“Don’t you have hundreds of each?”
No, my stencils don’t stand up to that kind of use, and that would take me years. For the vast majority of my stencil / spray pantings, there is only 1 painting. I have made prints of several of them which are available for purchase.
“But the black lines are done in ink, right?”
No, it’s all 100% spray paint. The black outlines are what remains of the first layer of paint I applied (black). Those areas remained masked during the entire series of paint applications, blocking the other colors from touching those areas.
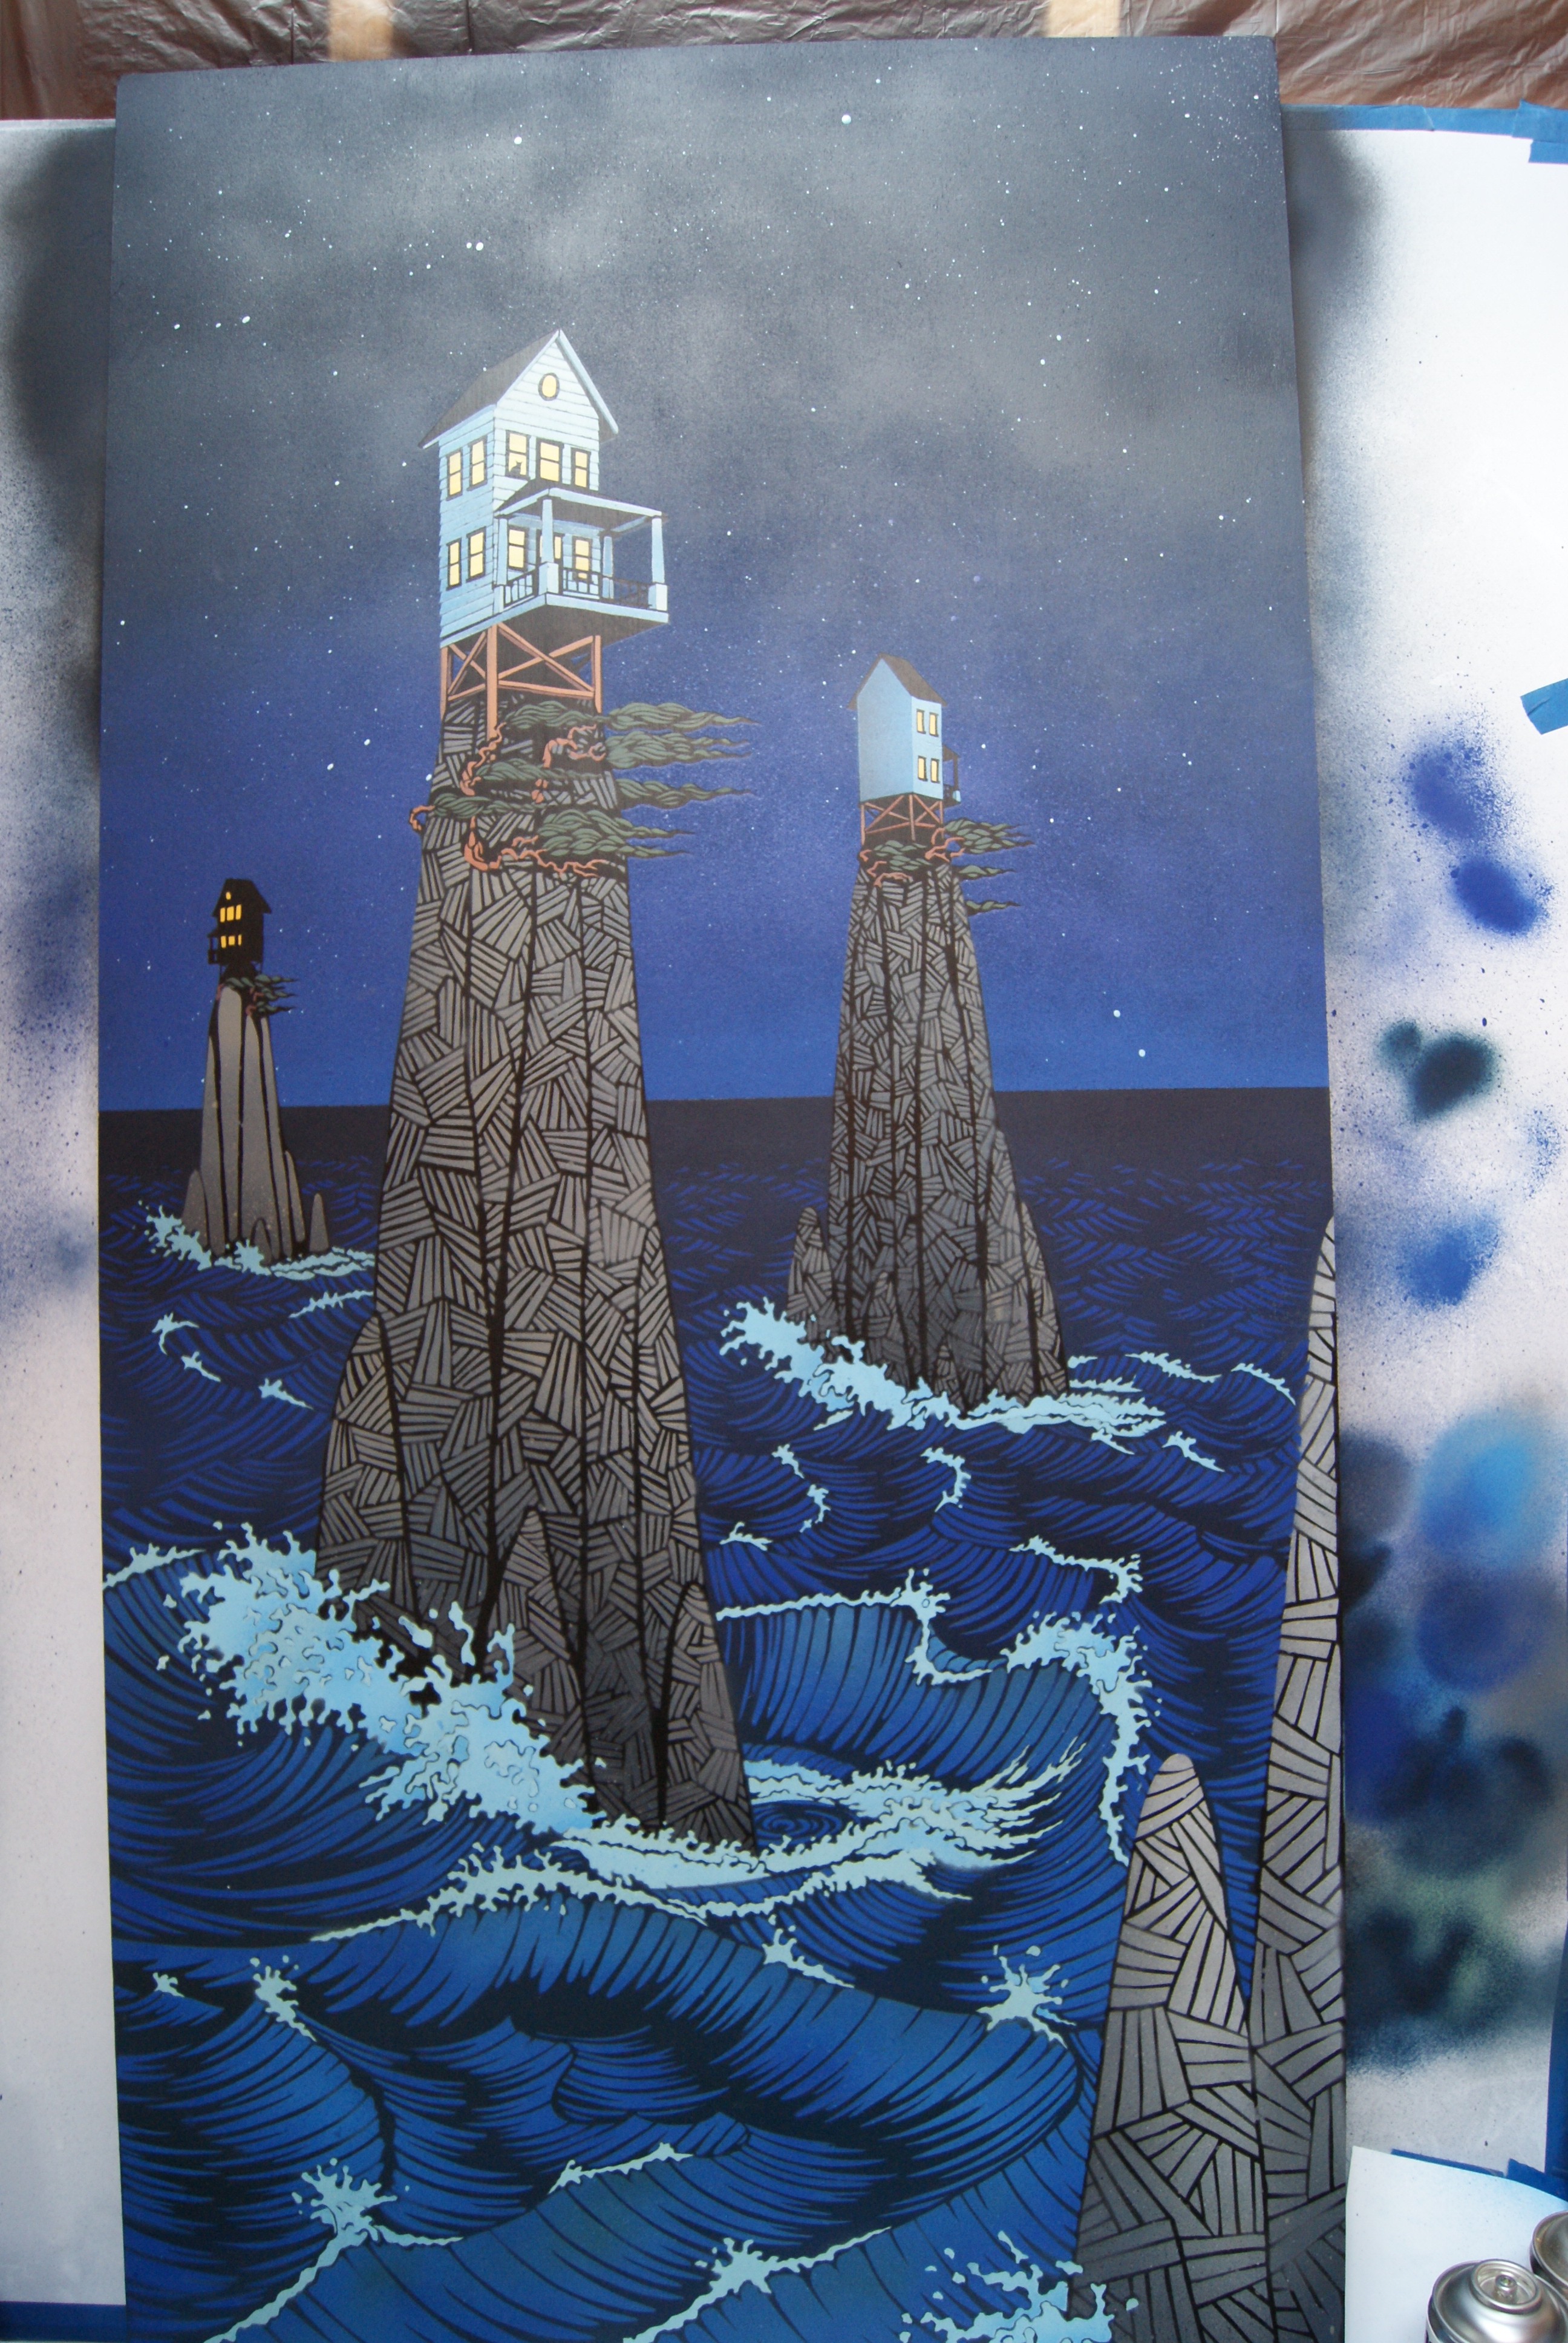
I decided to photograph the process of making the stencil piece called “Neighbors”. This might clarify how they are made.

1. First I created an inked drawing, exactly the size I wanted the painting. I had to draw this in a way that would hold together if the empty spaces between the lines were cut out. (Imagine a complicated paper snowflake.)
Then I made many photocopies of the drawing.
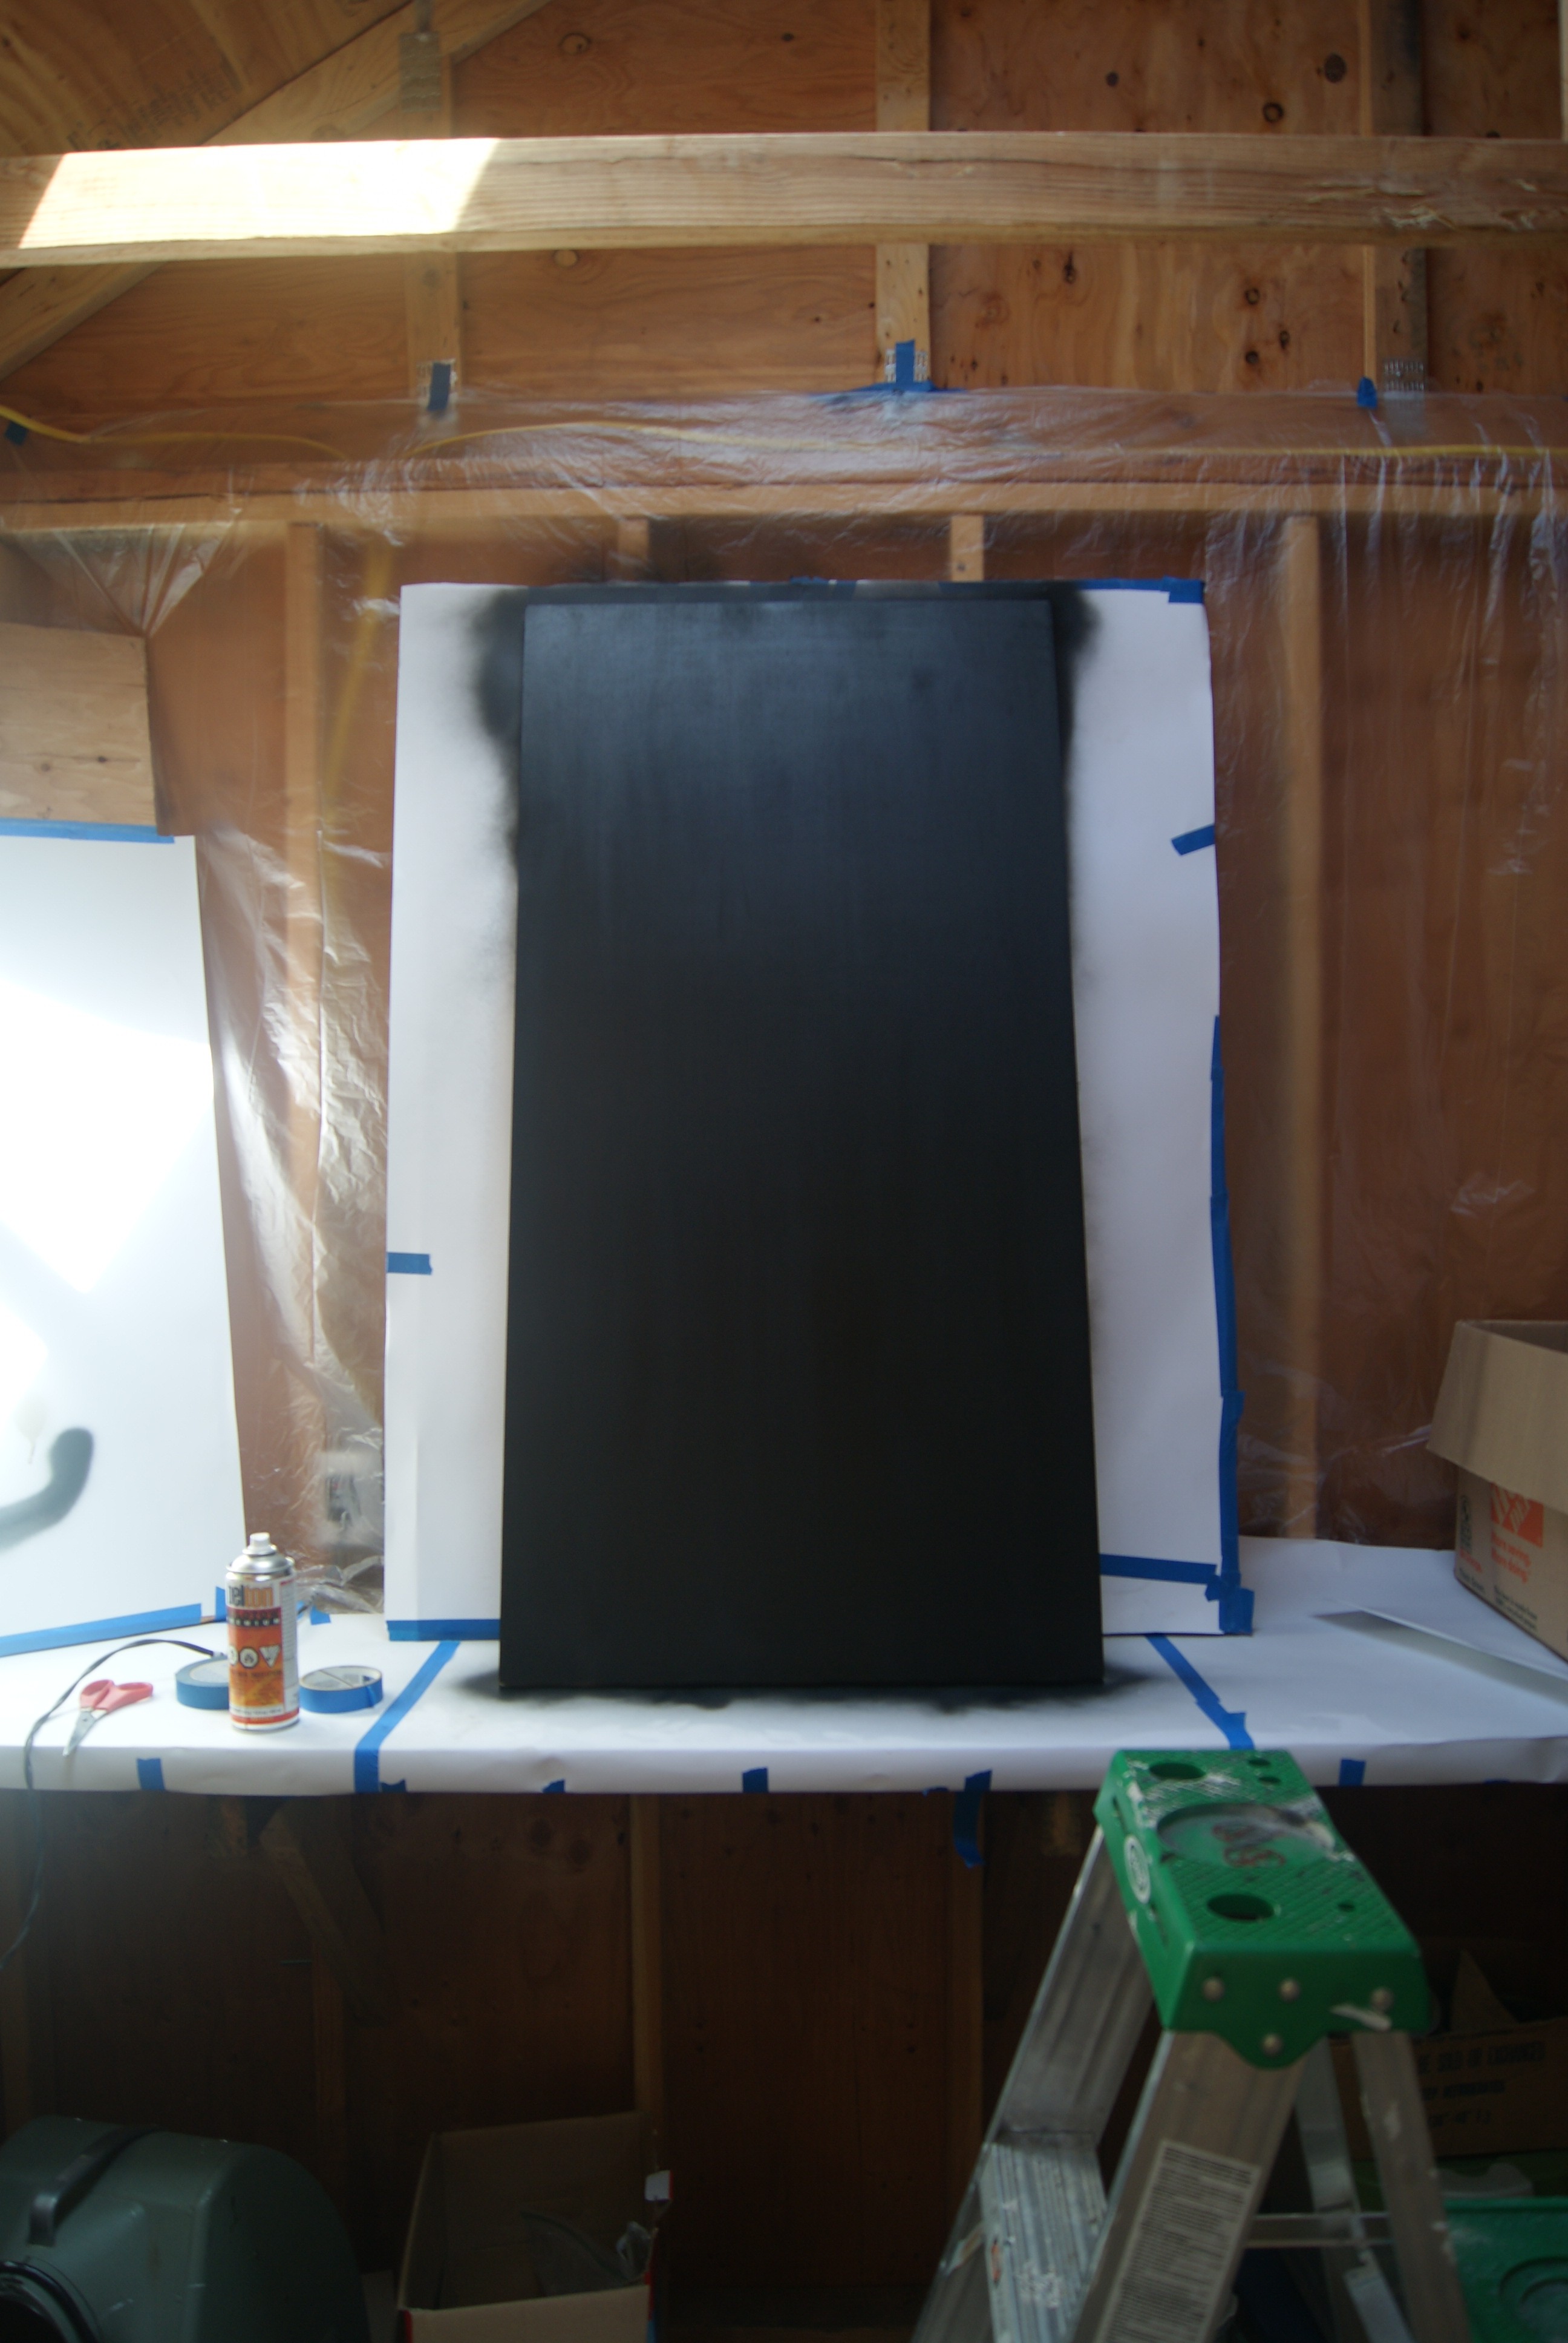
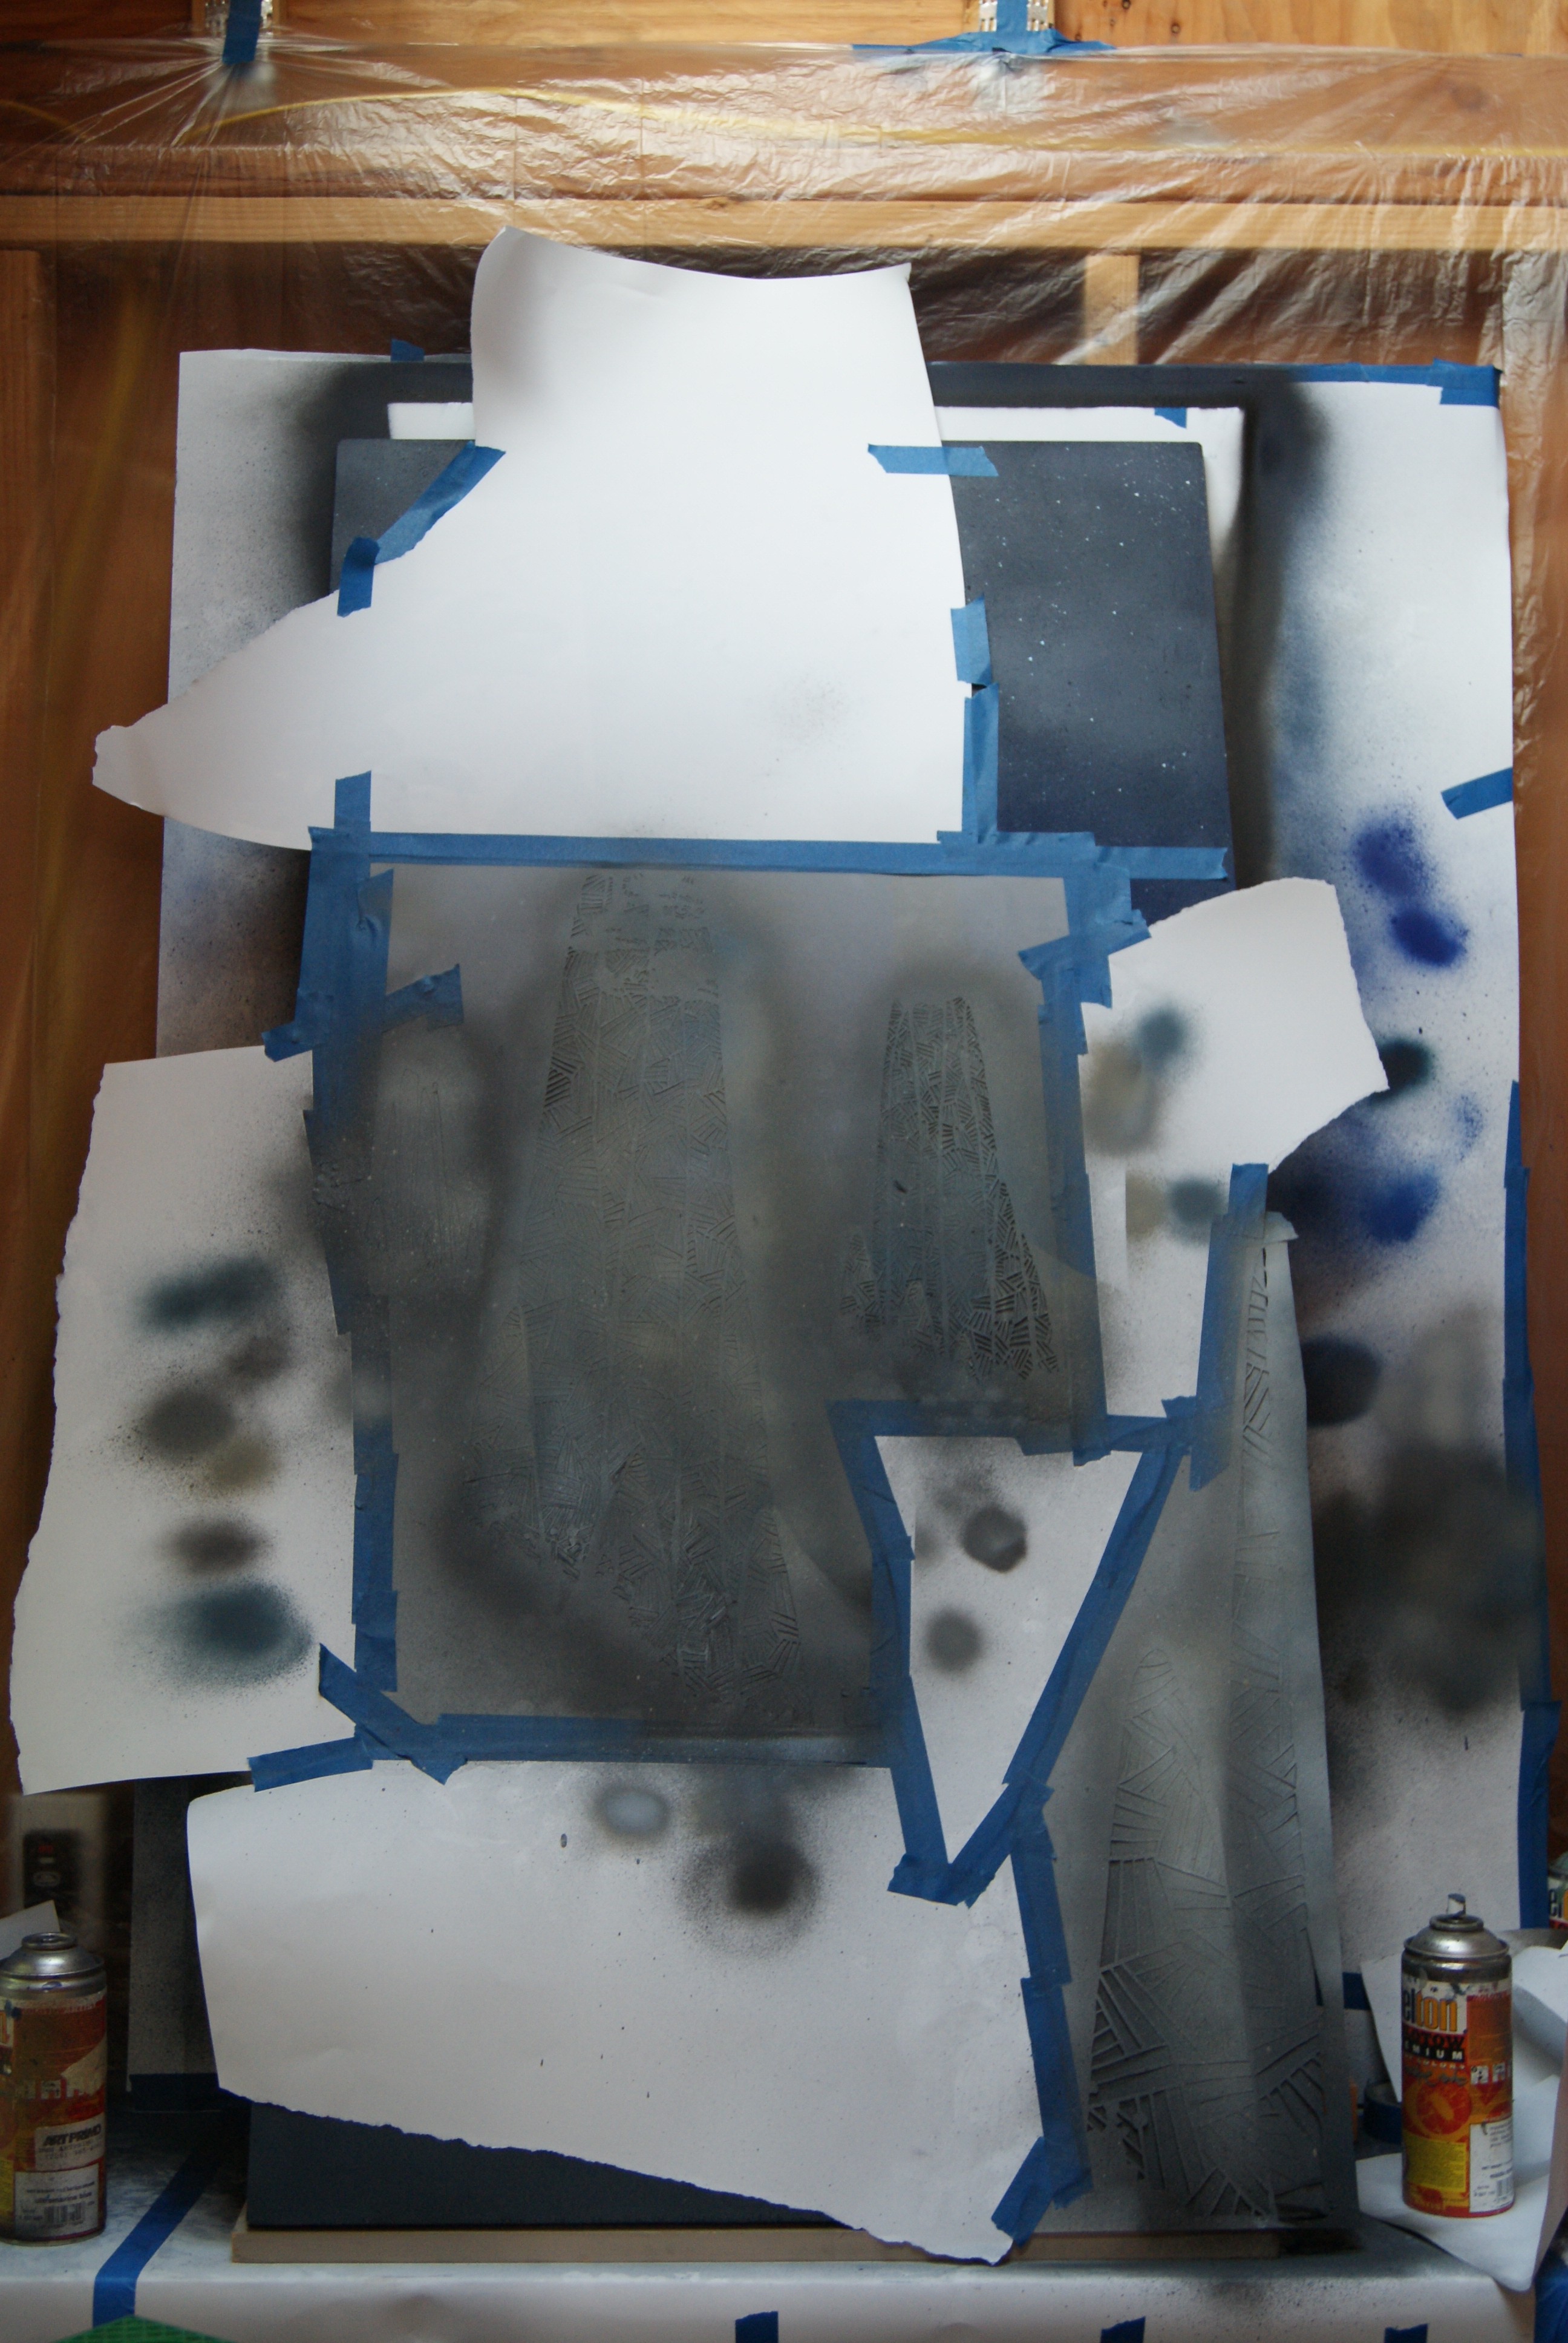
2. I cut a piece of plywood to the size of the painting. Then spray painted that sucker black.
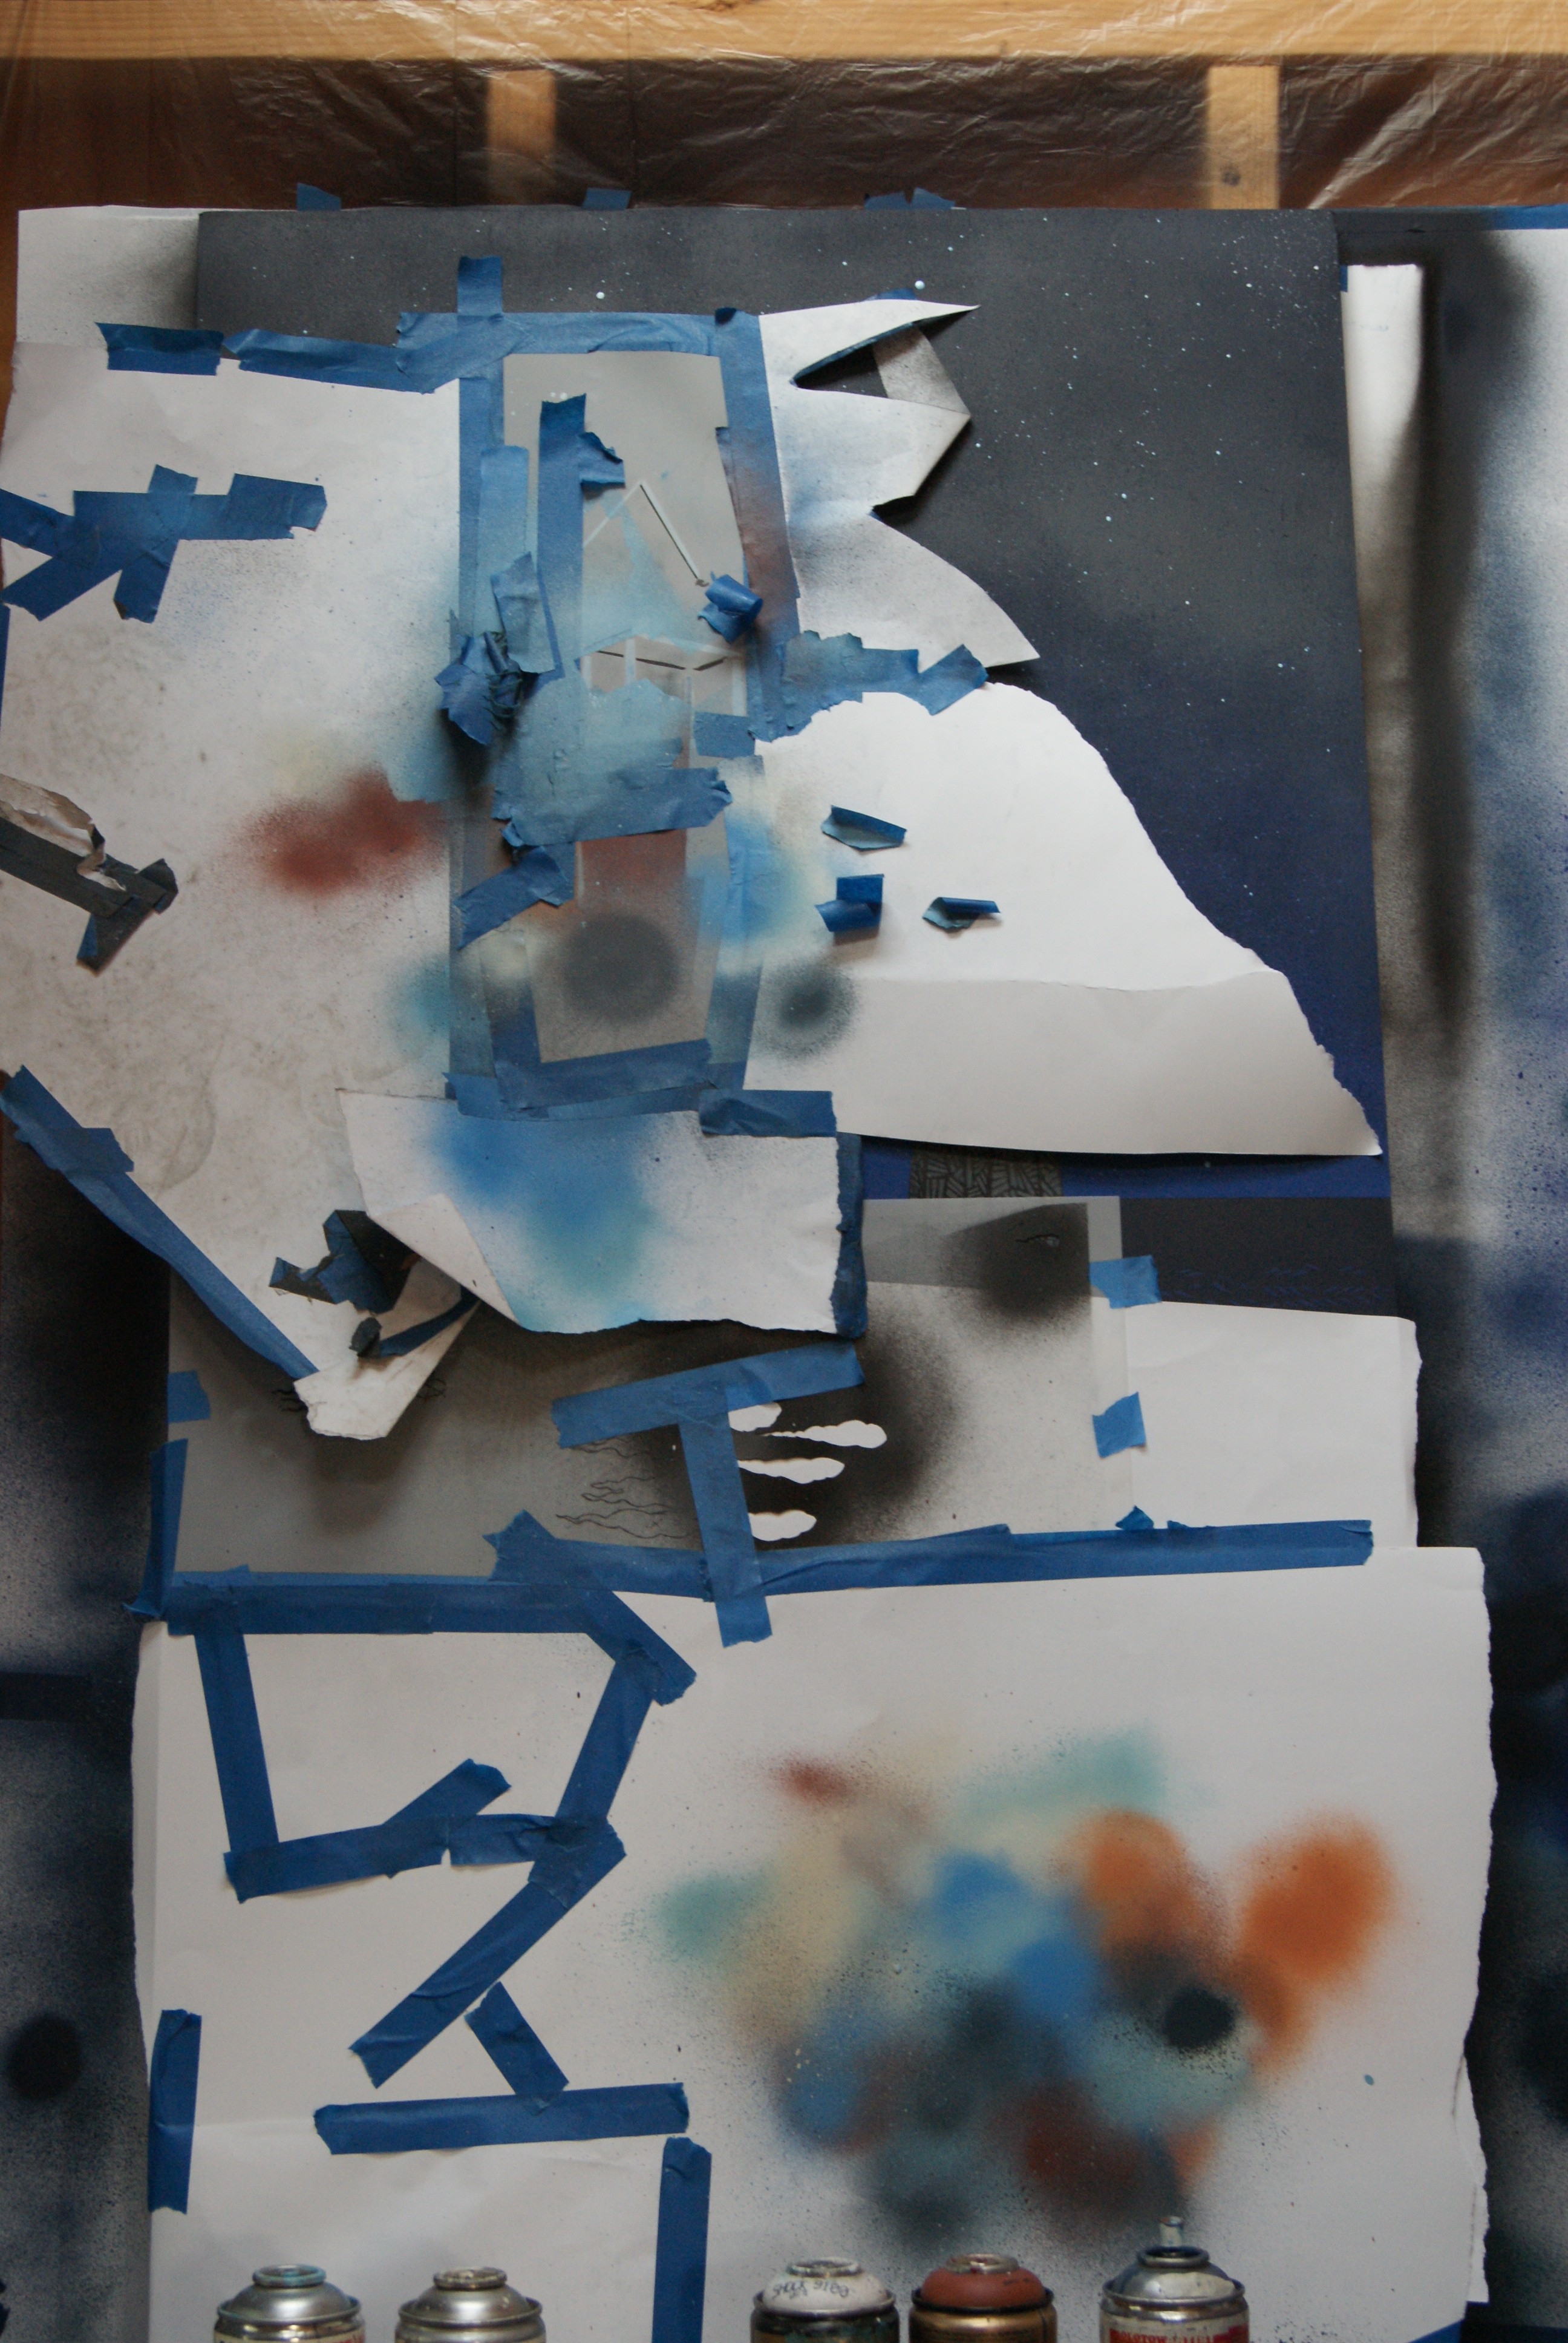
At this point I began to produce the stencils using transparent film which I tape over the photocopies. I hand cut each stencil using an Exacto knife.
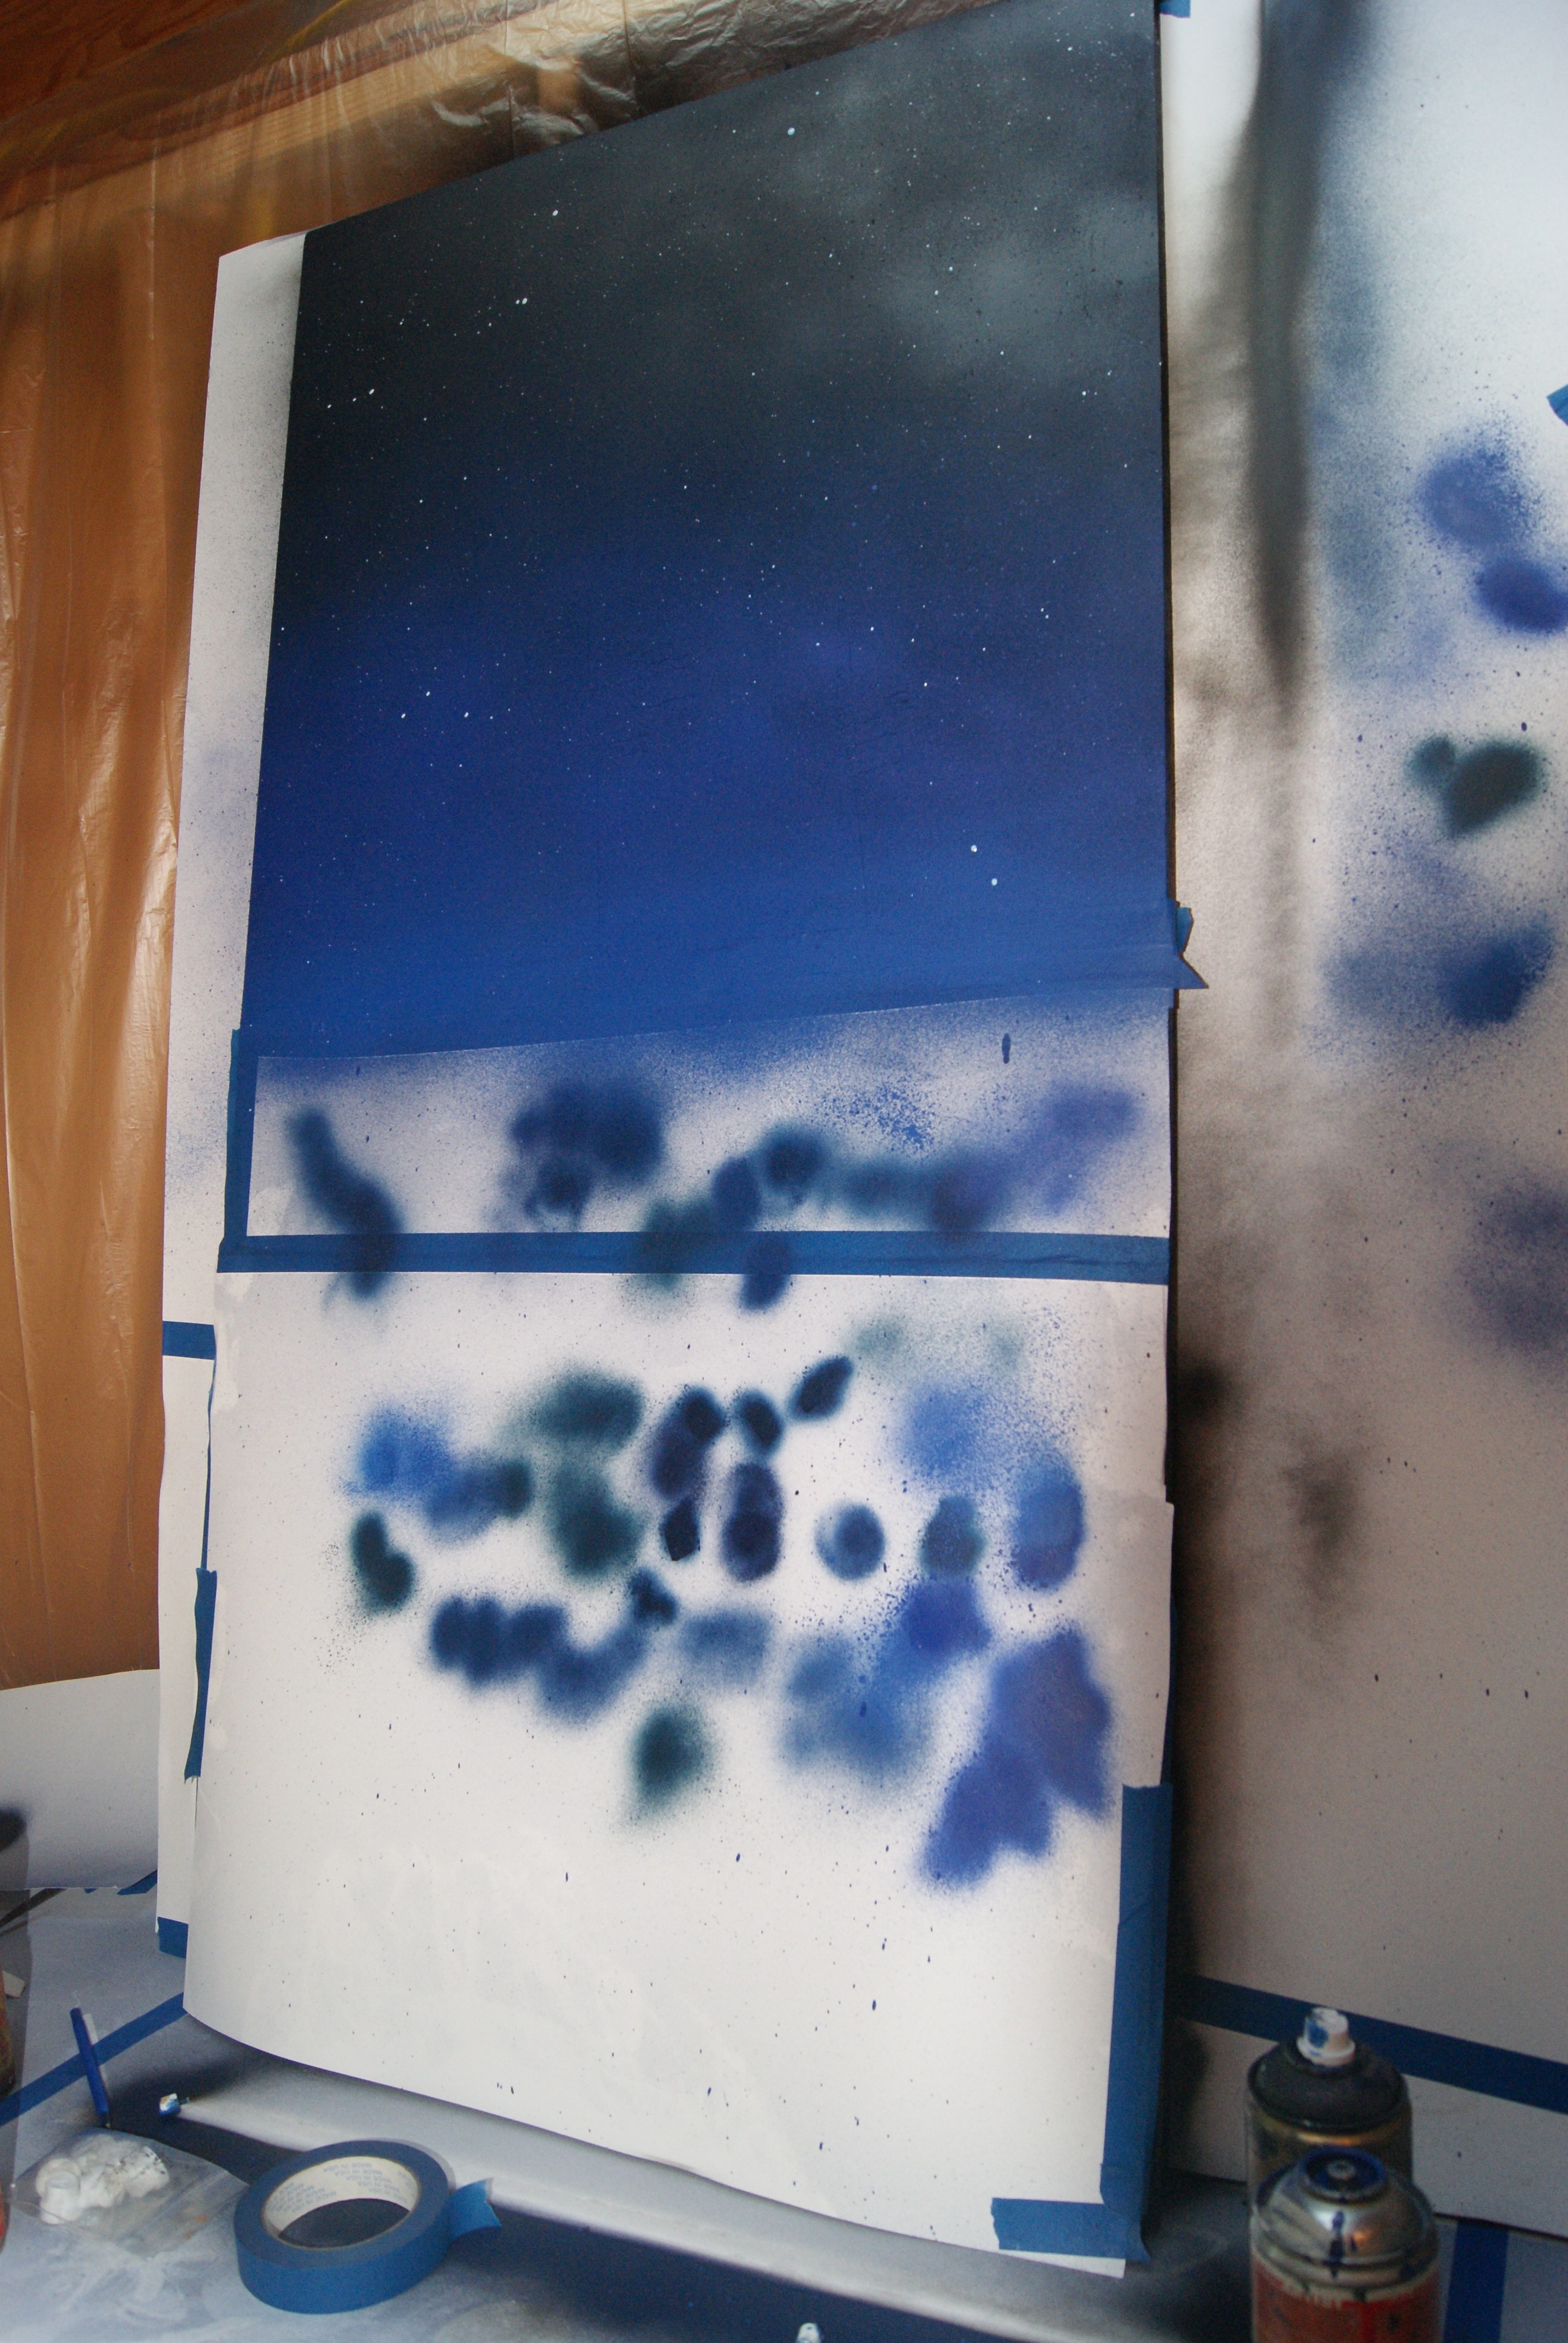
3. Laying the first stencil fixes the location of every stencil that follows. There is little room for error with layered stencils. I used silhouettes of tops of the rocky sea stacks and houses as my first stencil layer and painted the sky in over it.
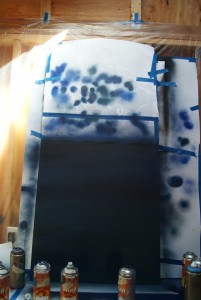

4. Then I painted in the dark base coat for the ocean, followed by a stencil of the silhouettes of the bases of the rocky sea stacks.
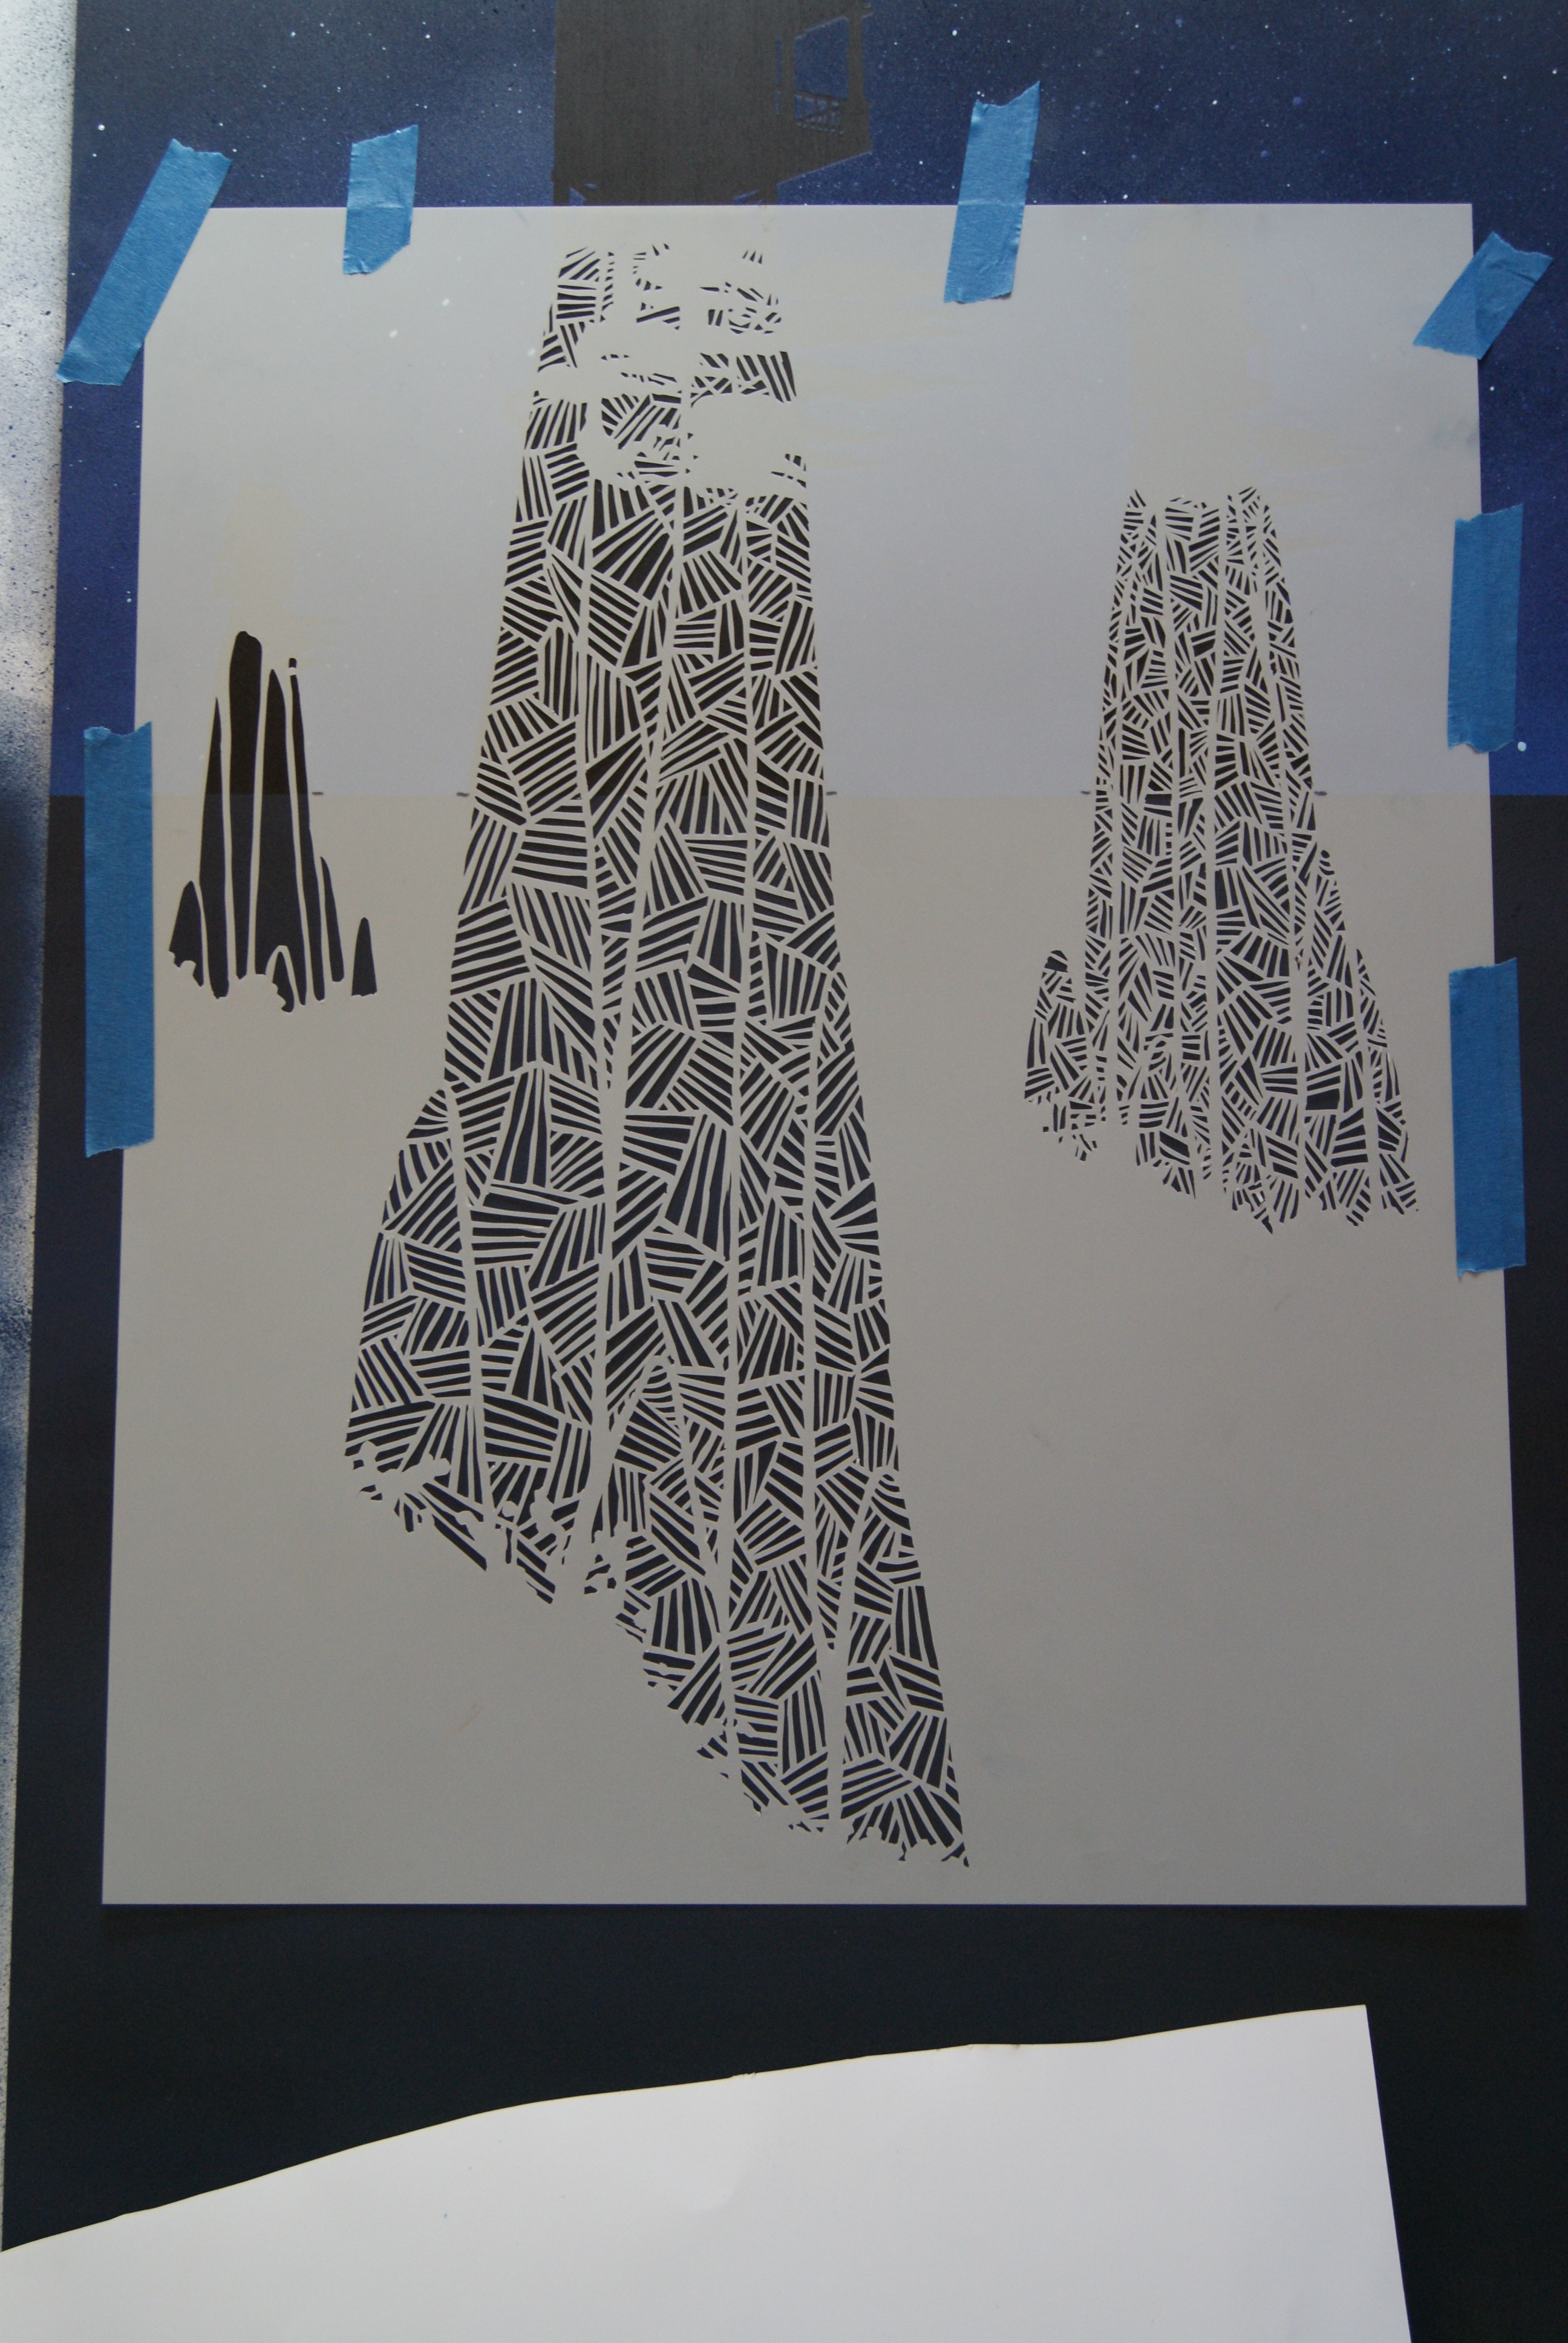
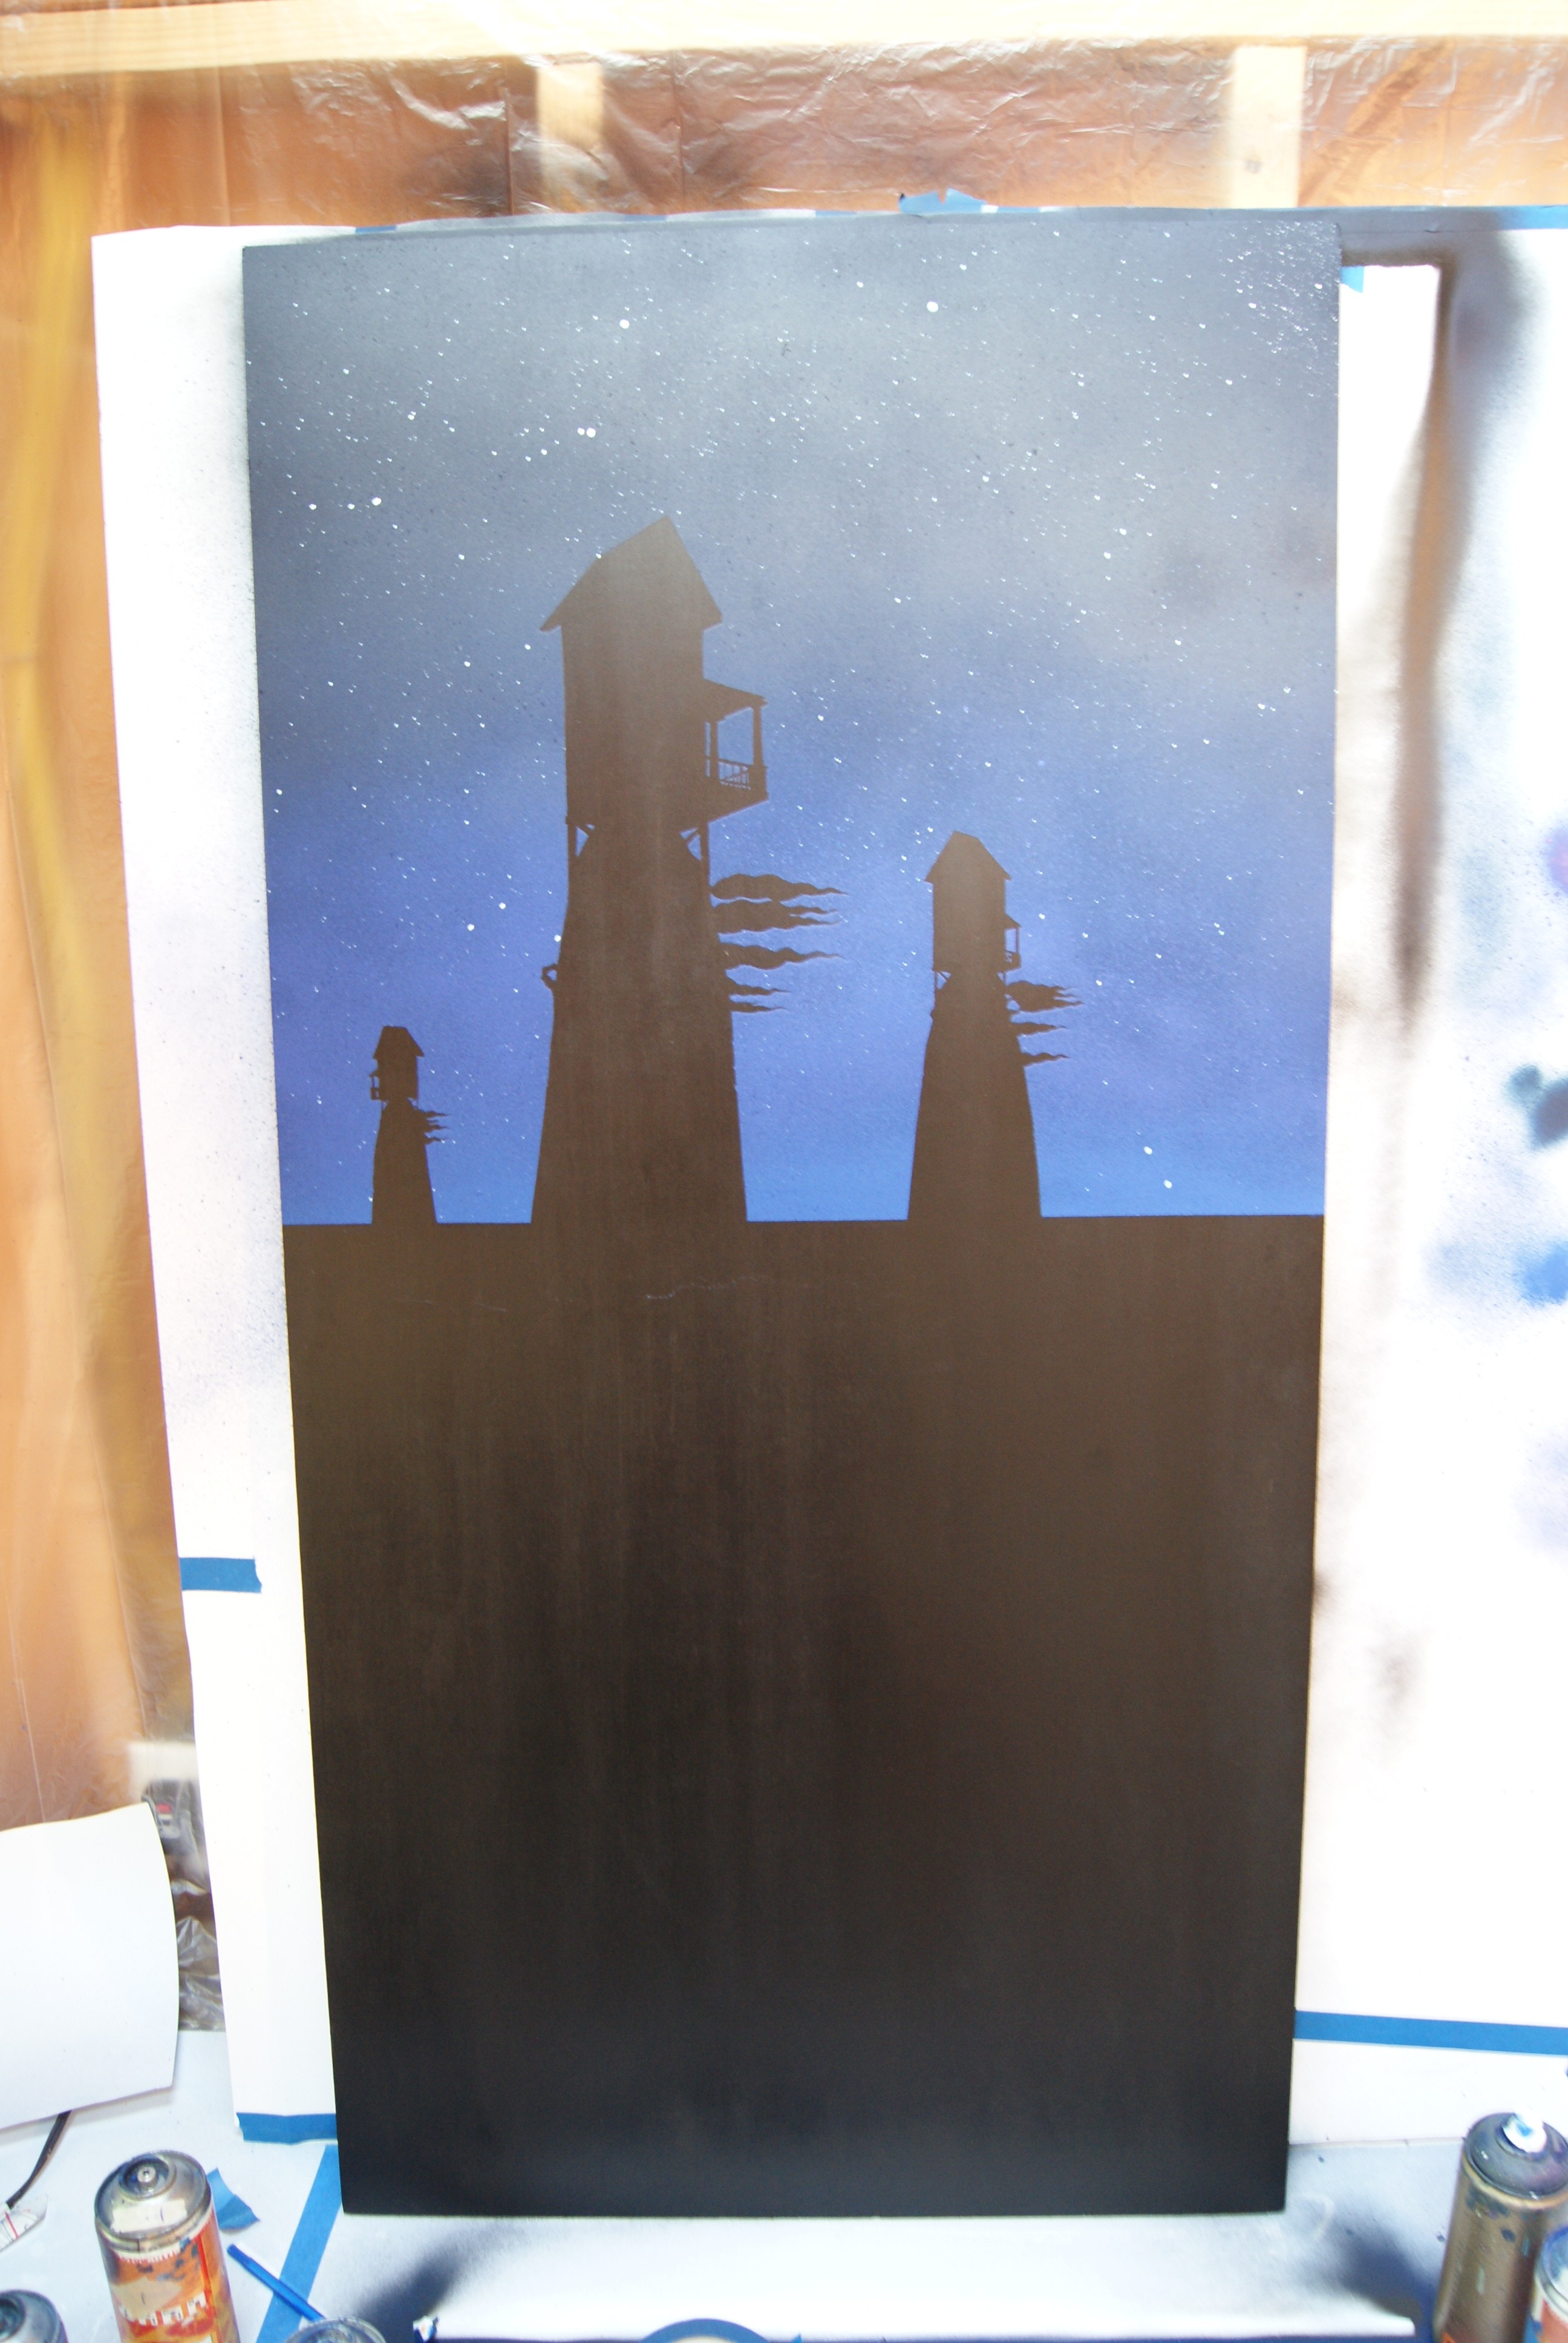
5. Then I added the color stencil for the rocks.
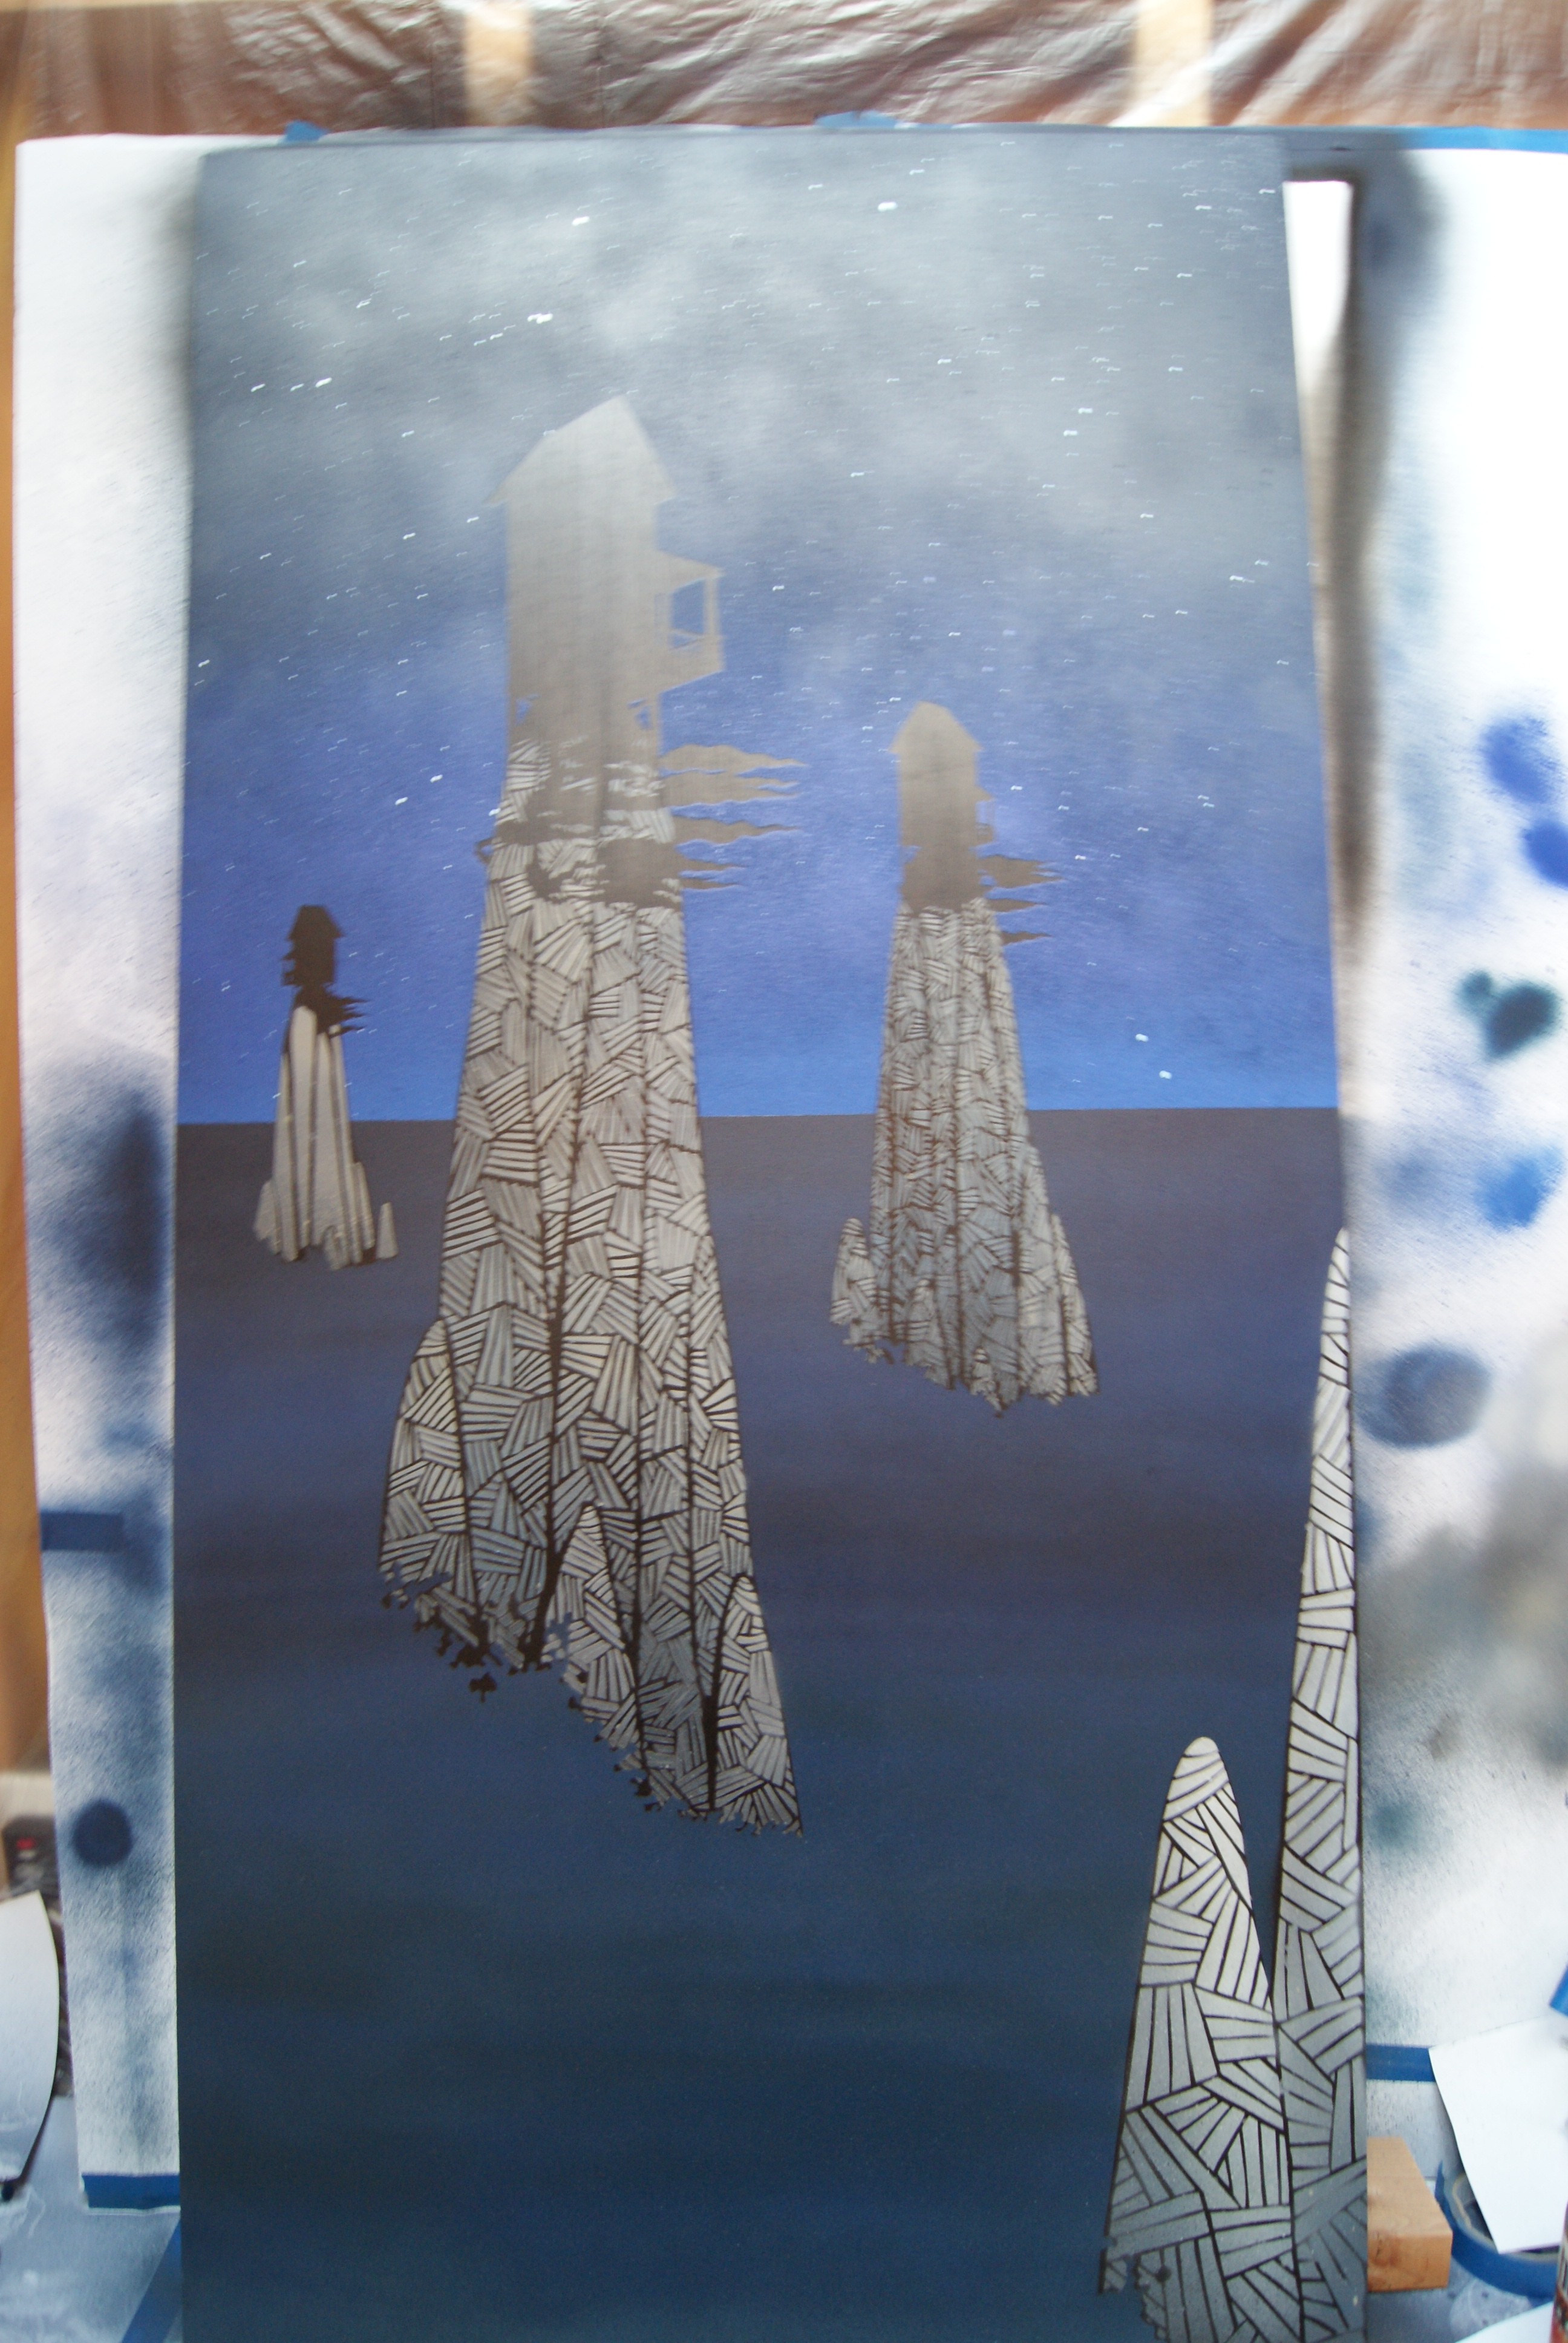
6. The portions that remained covered after this spray remain black. This explains the spray painted “black lines” you see in the final piece.
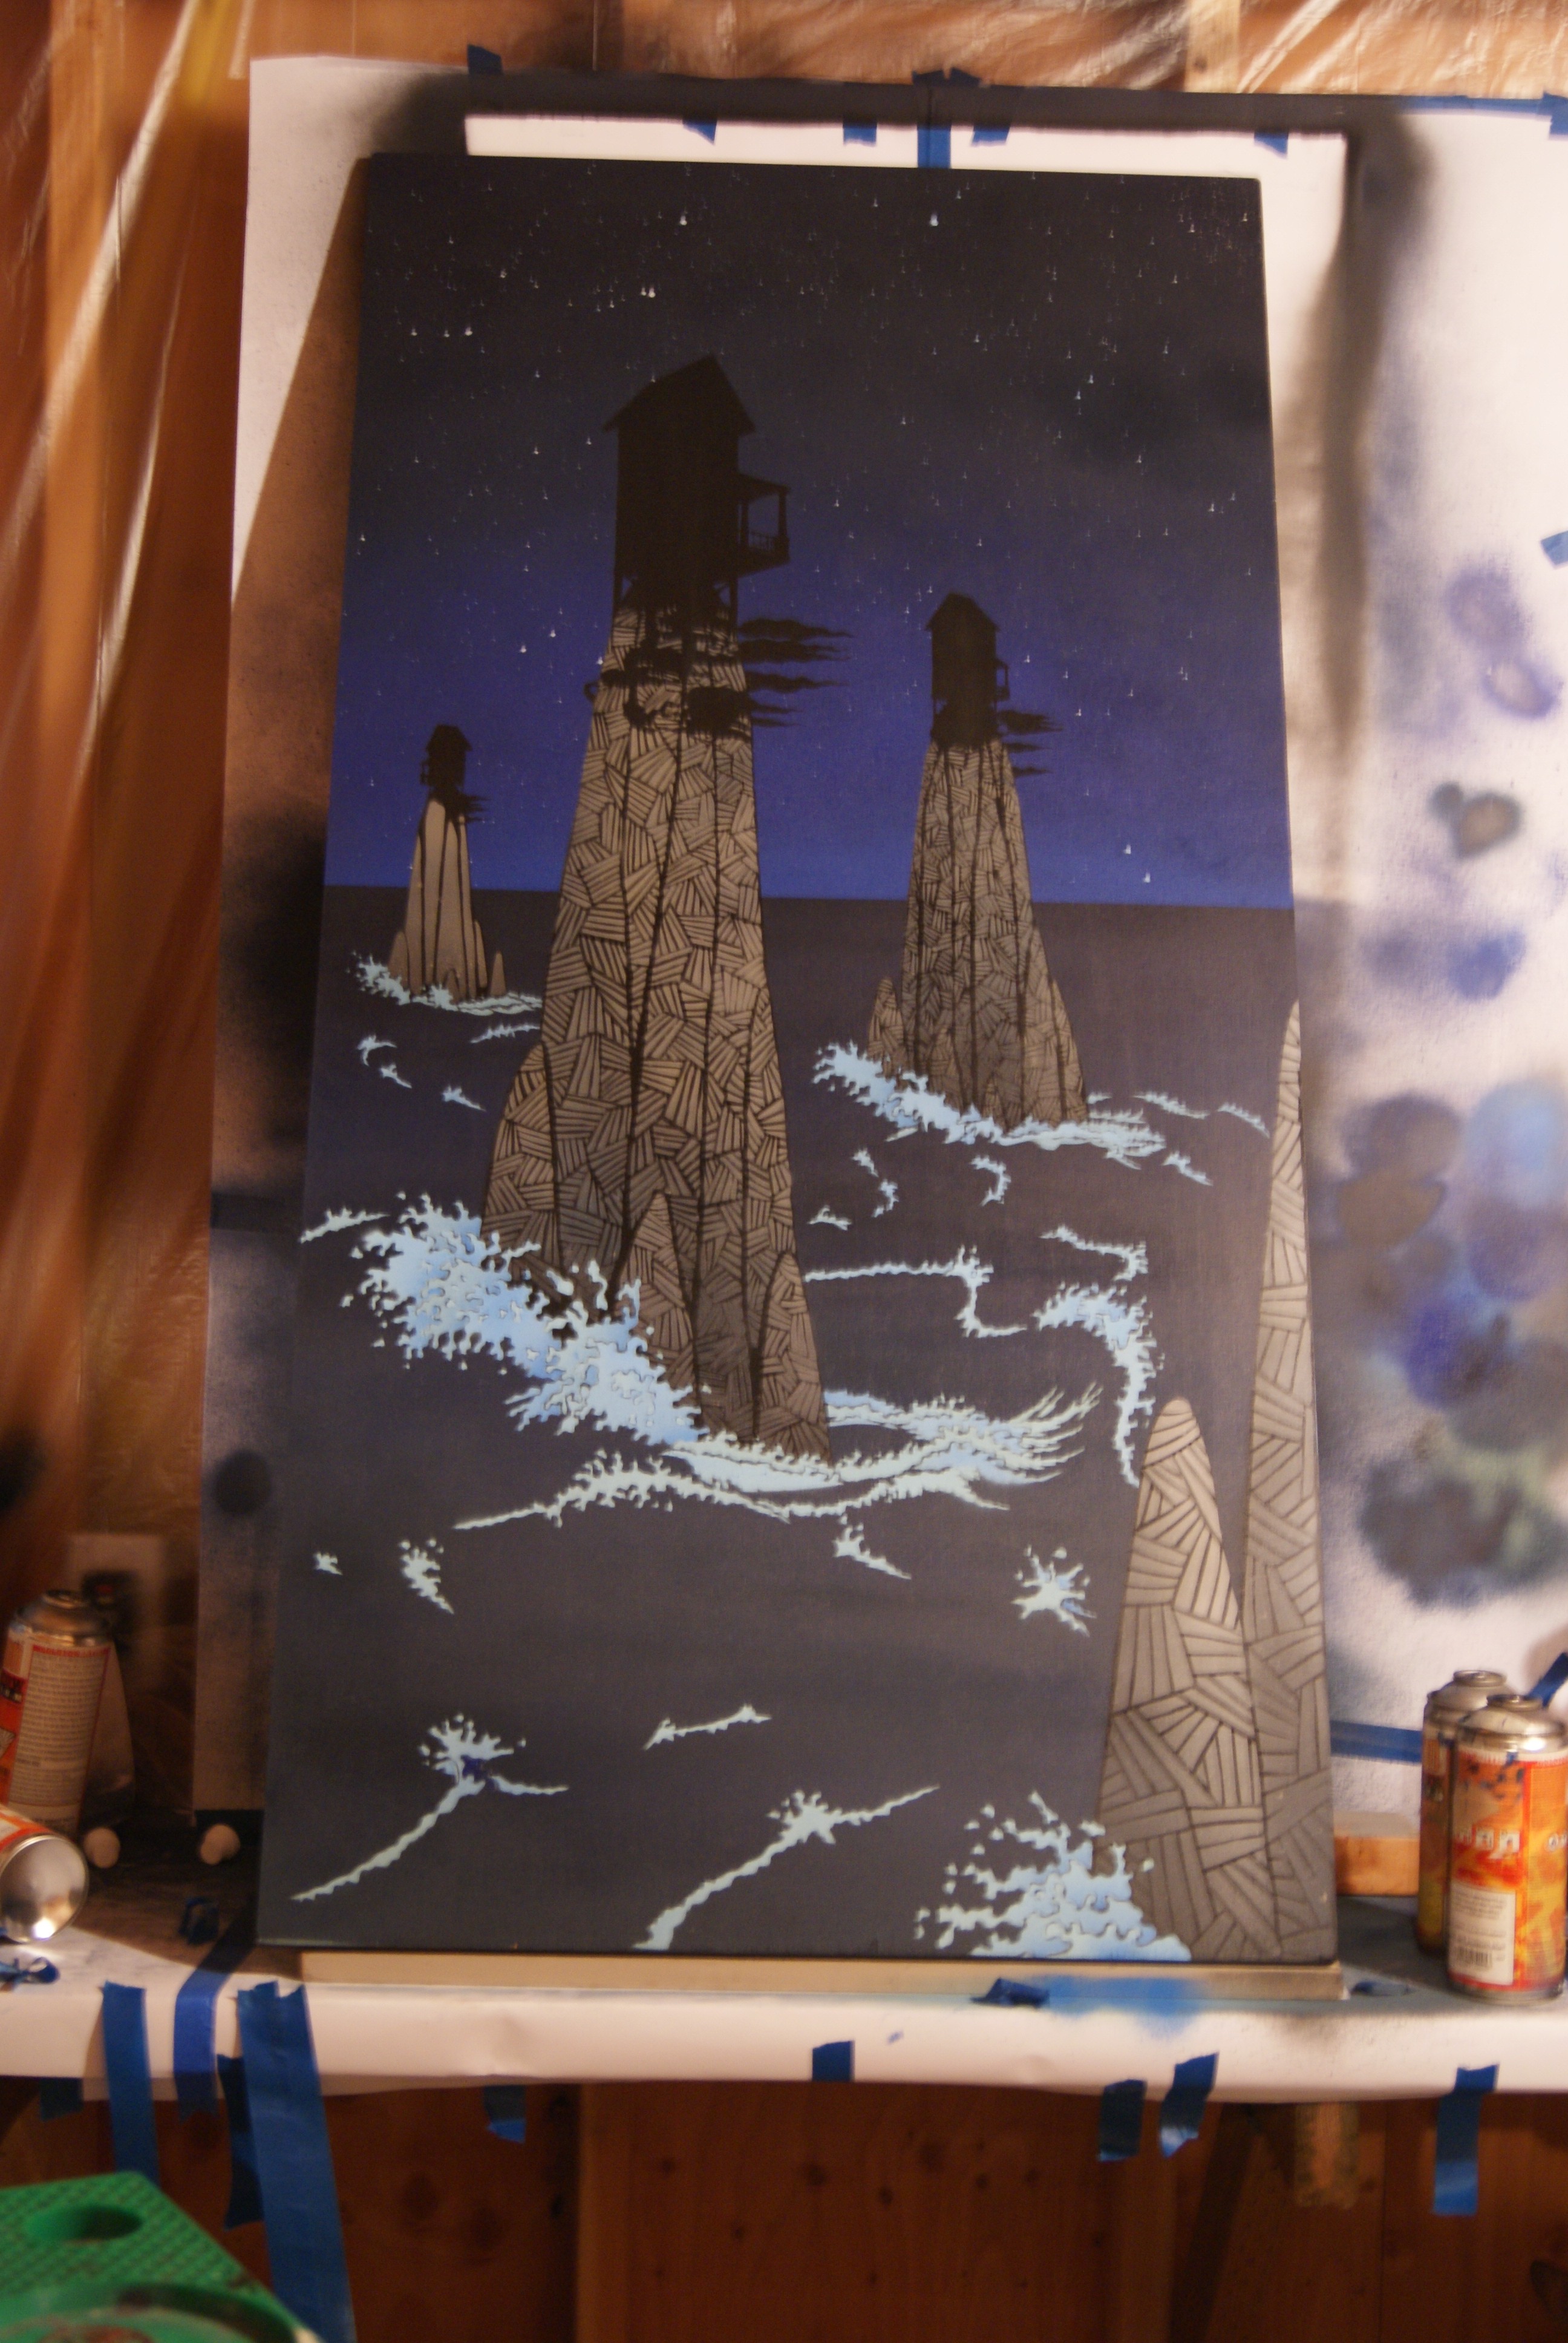

7. I decided to add the foam on the tops of the waves next. This was done in two stencil layers so that I could create some shading between overlapping wave tops.

8. Next, the stencil for the waves was added, fitting between the foamy tops of the waves.
9. The remaining stencils were all associated with the trees and buildings.
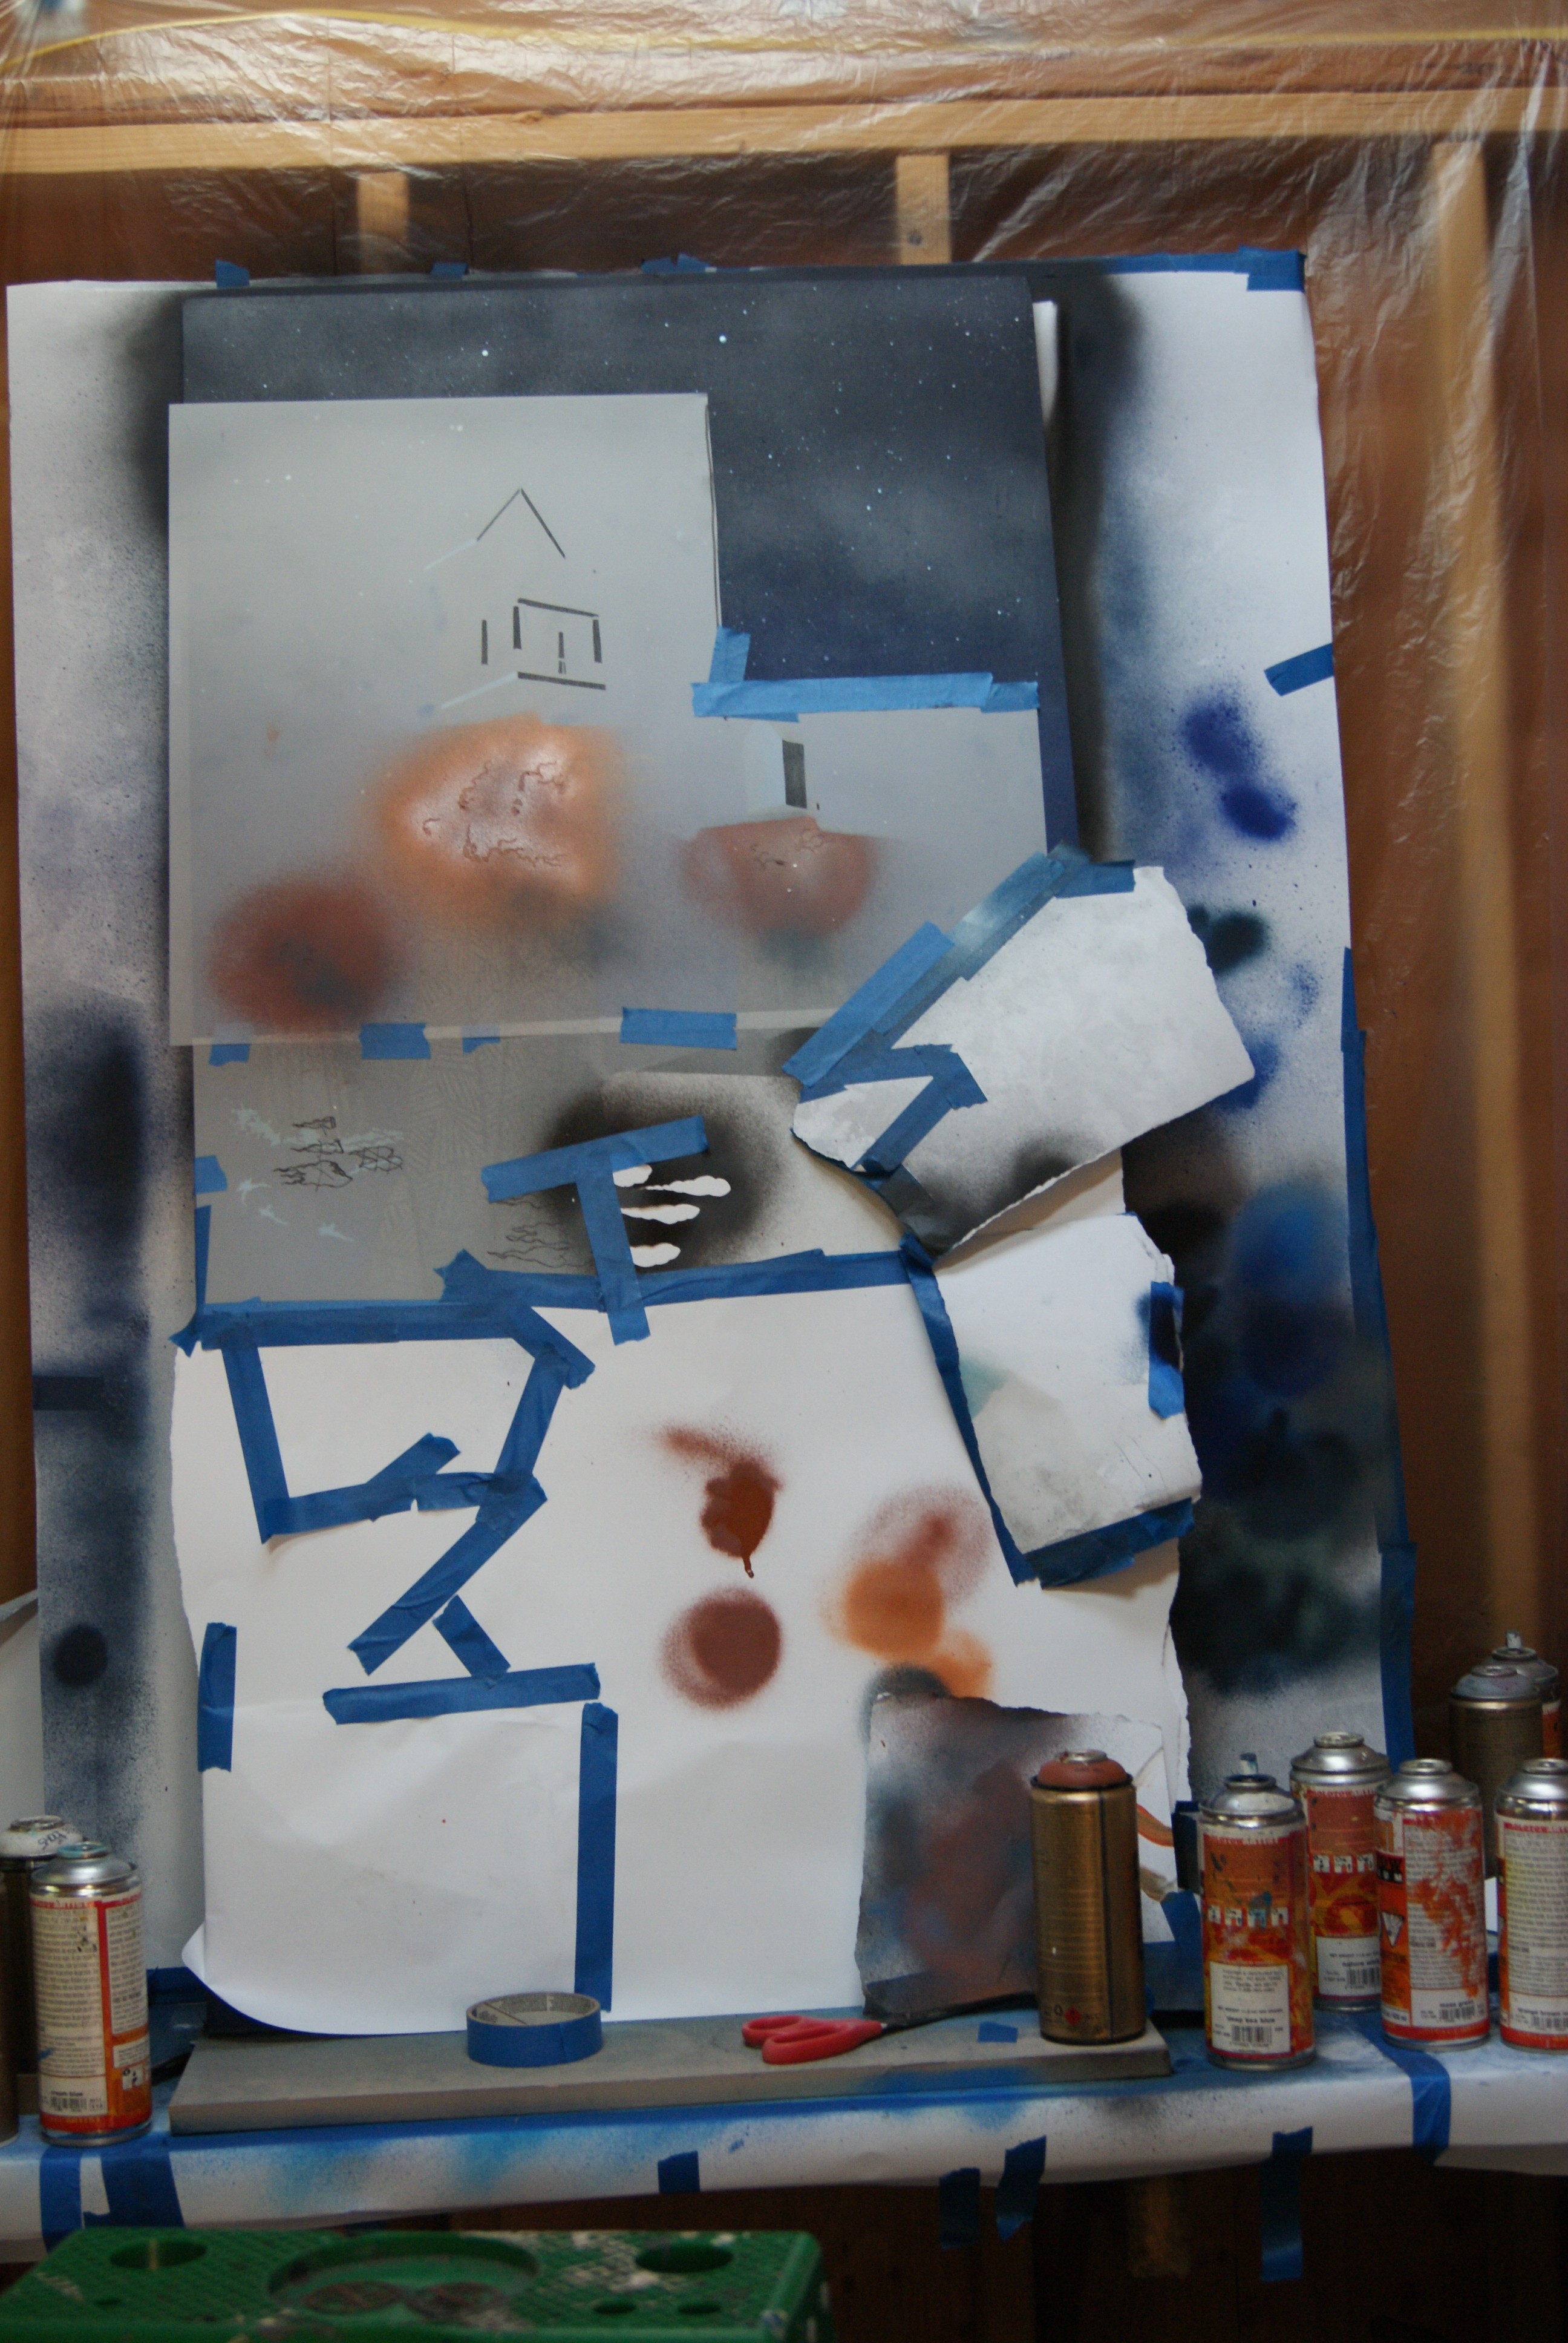
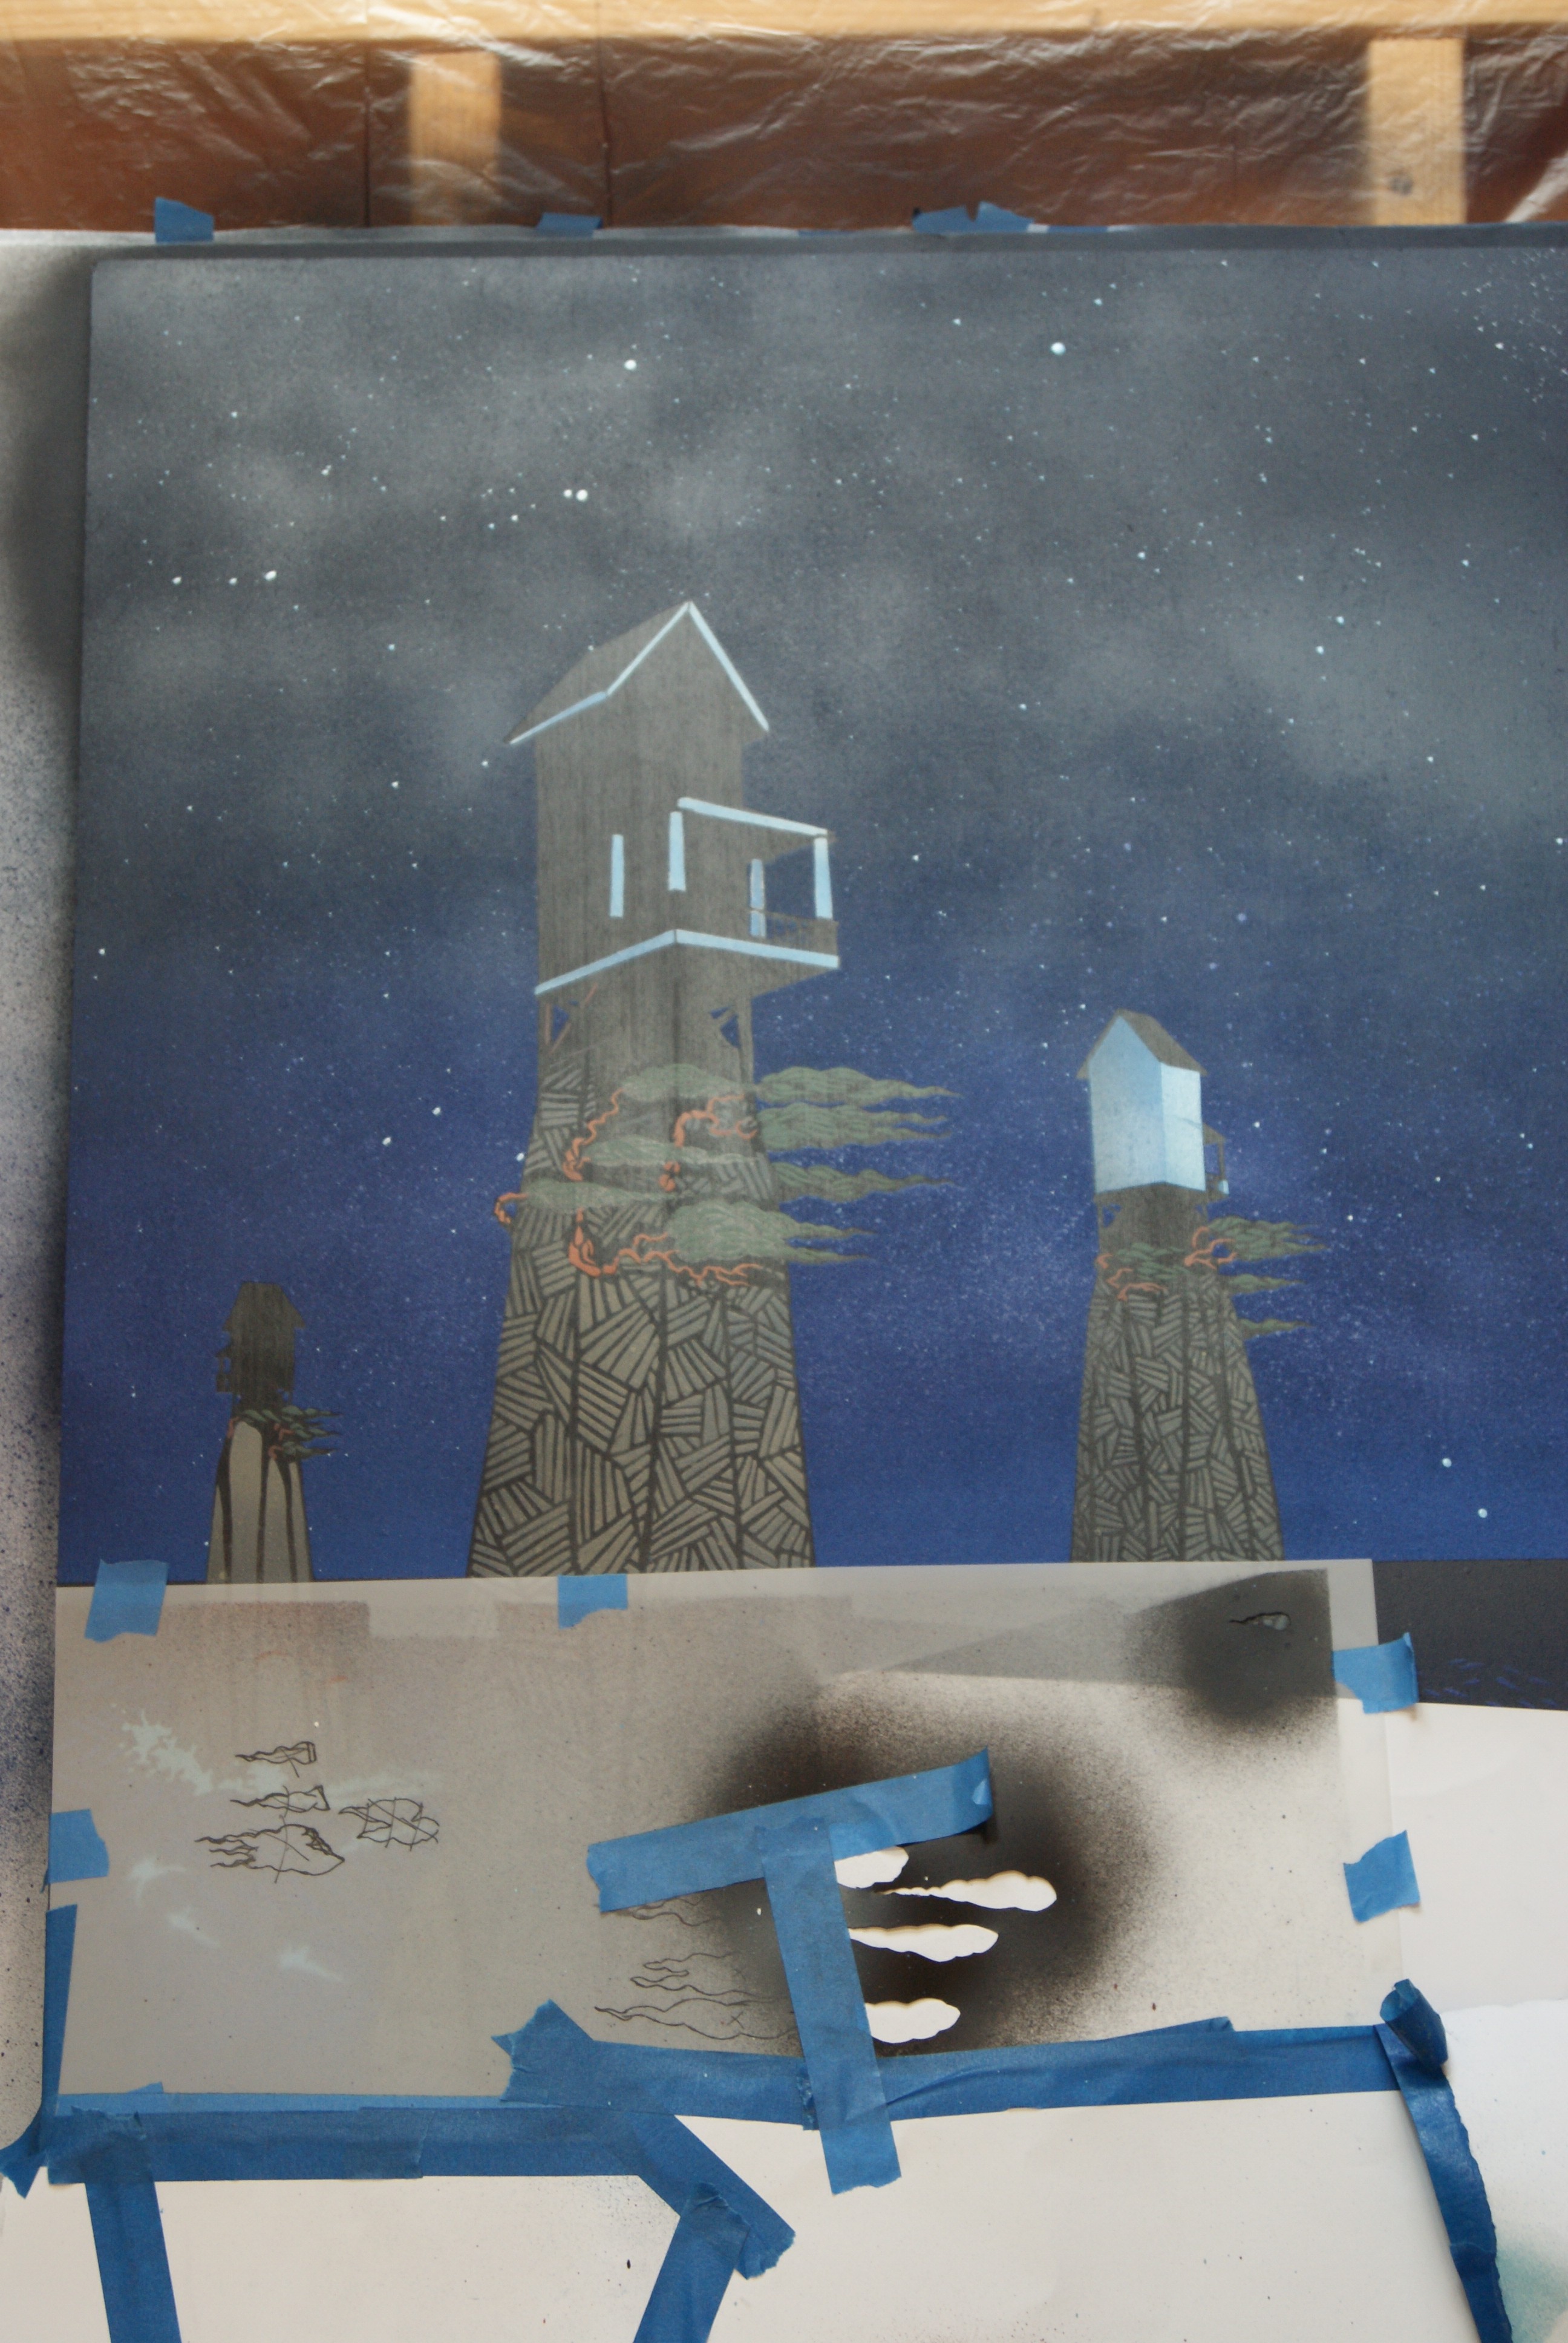
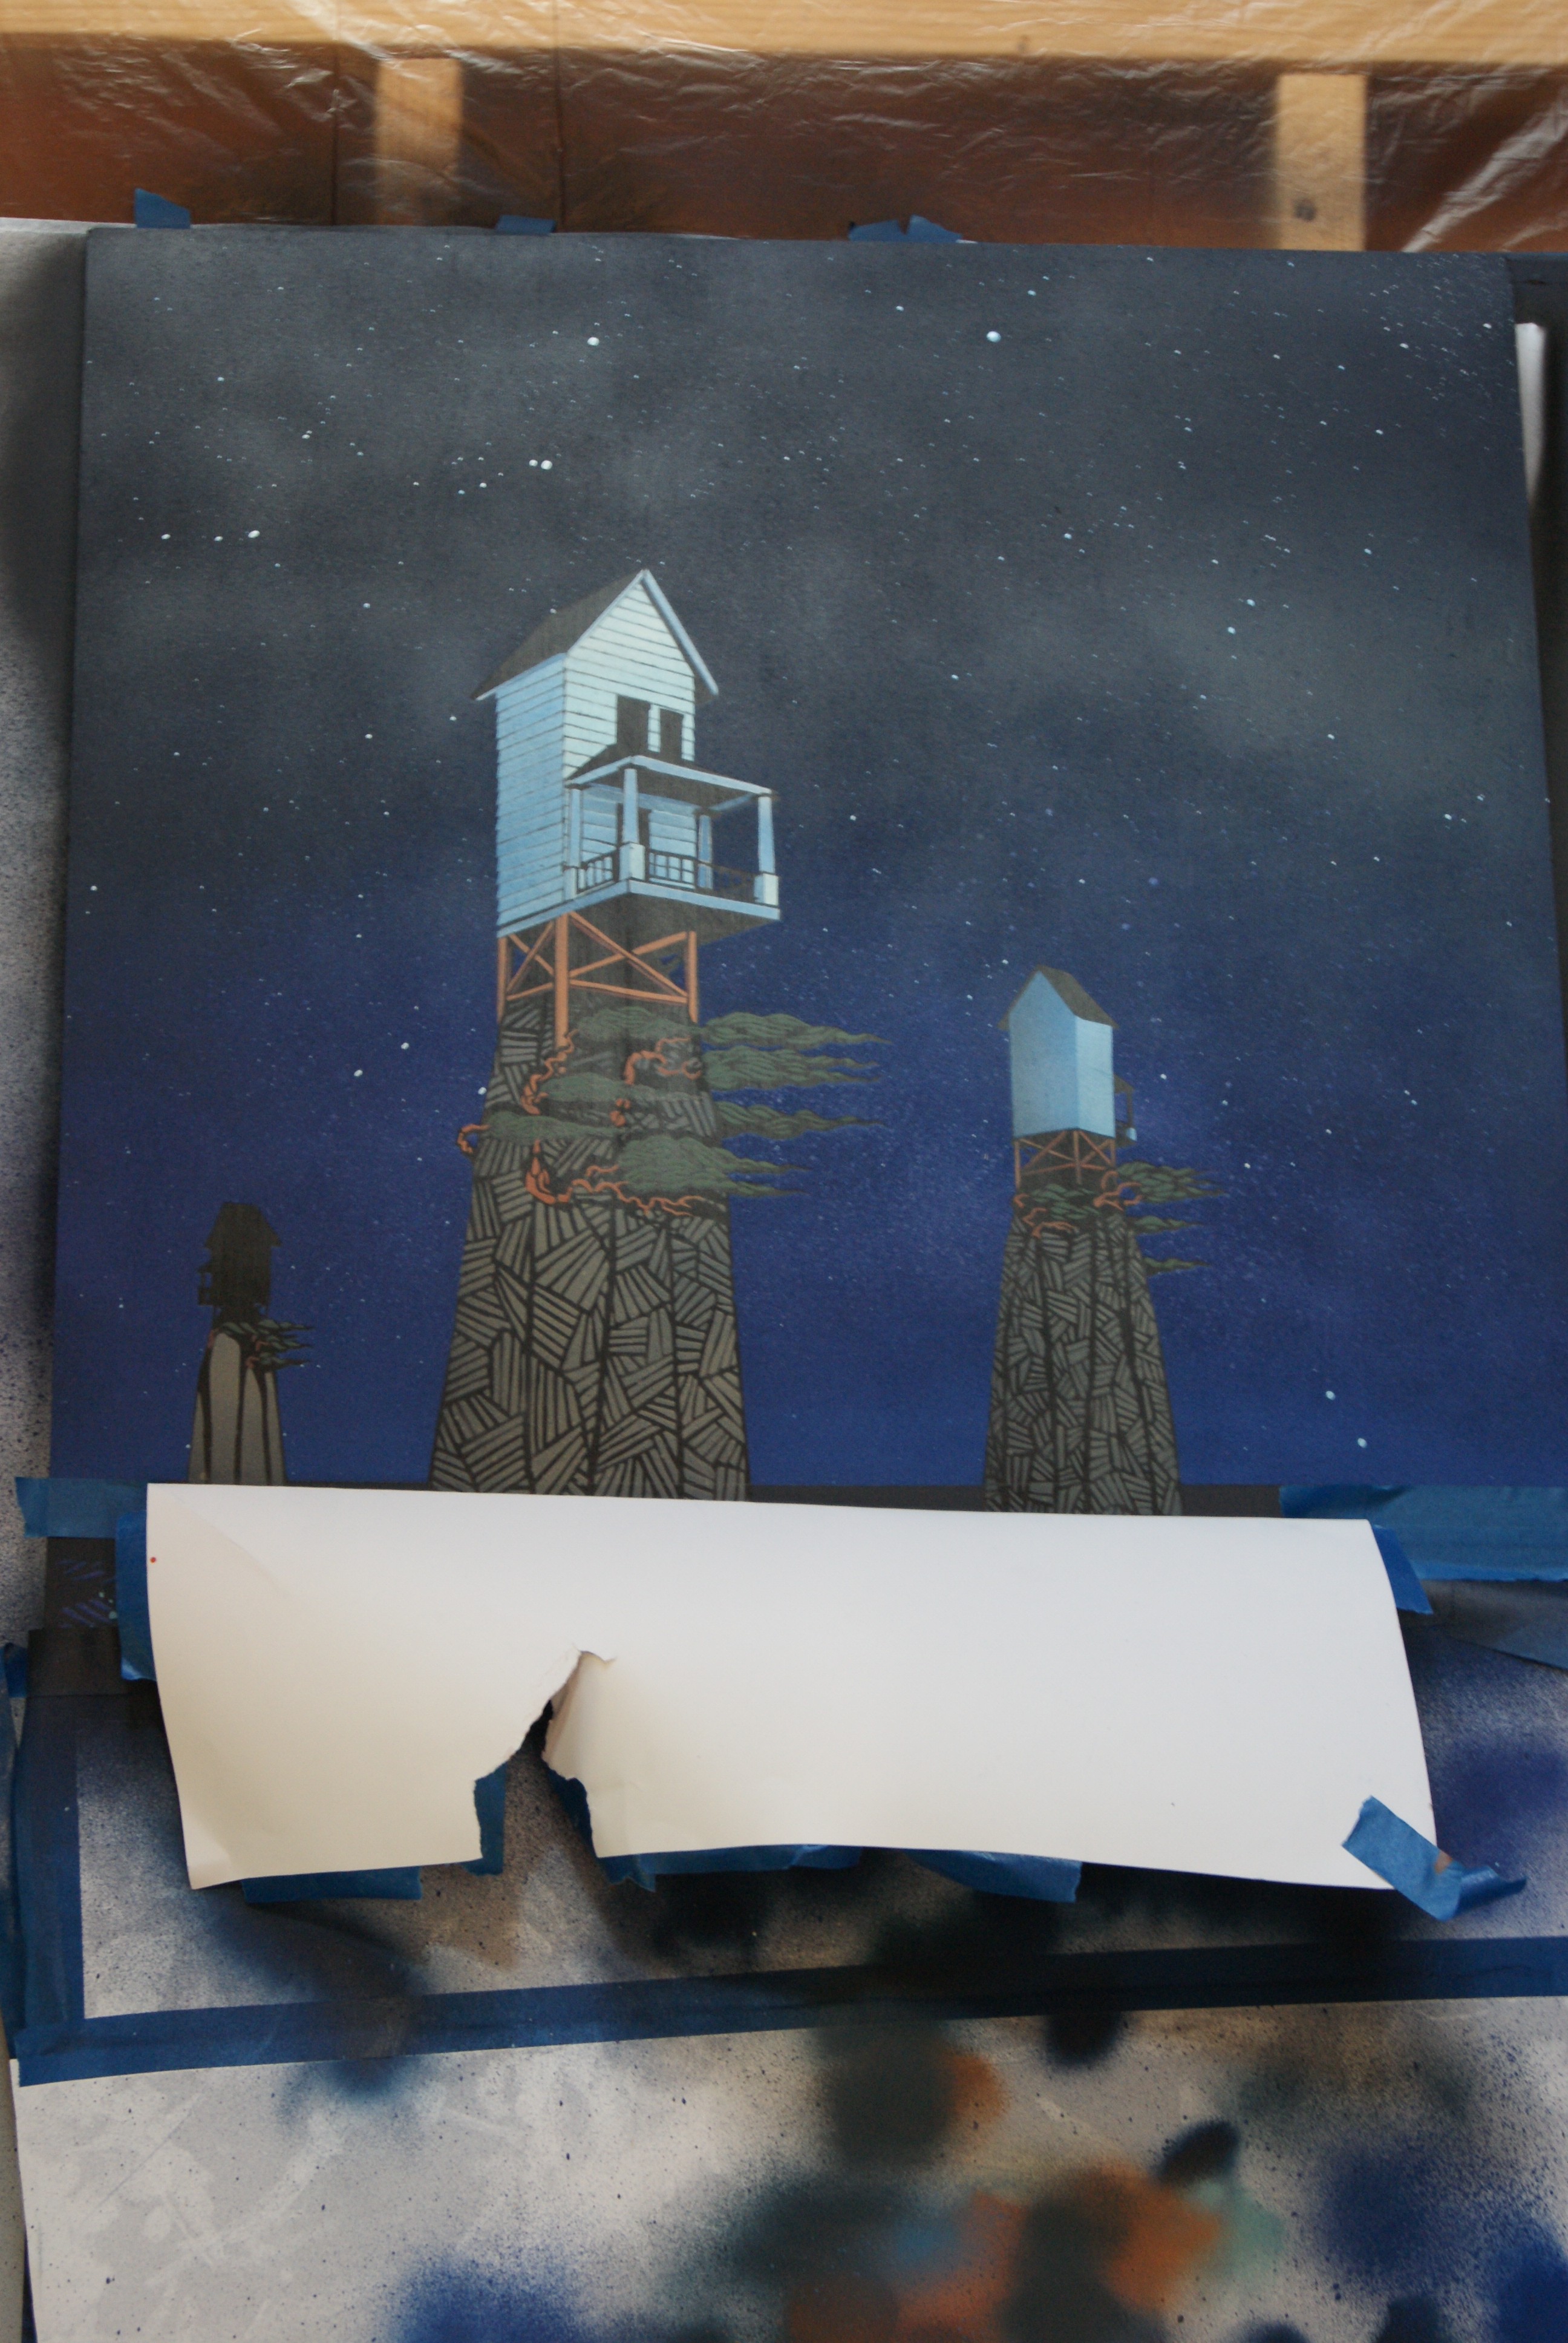
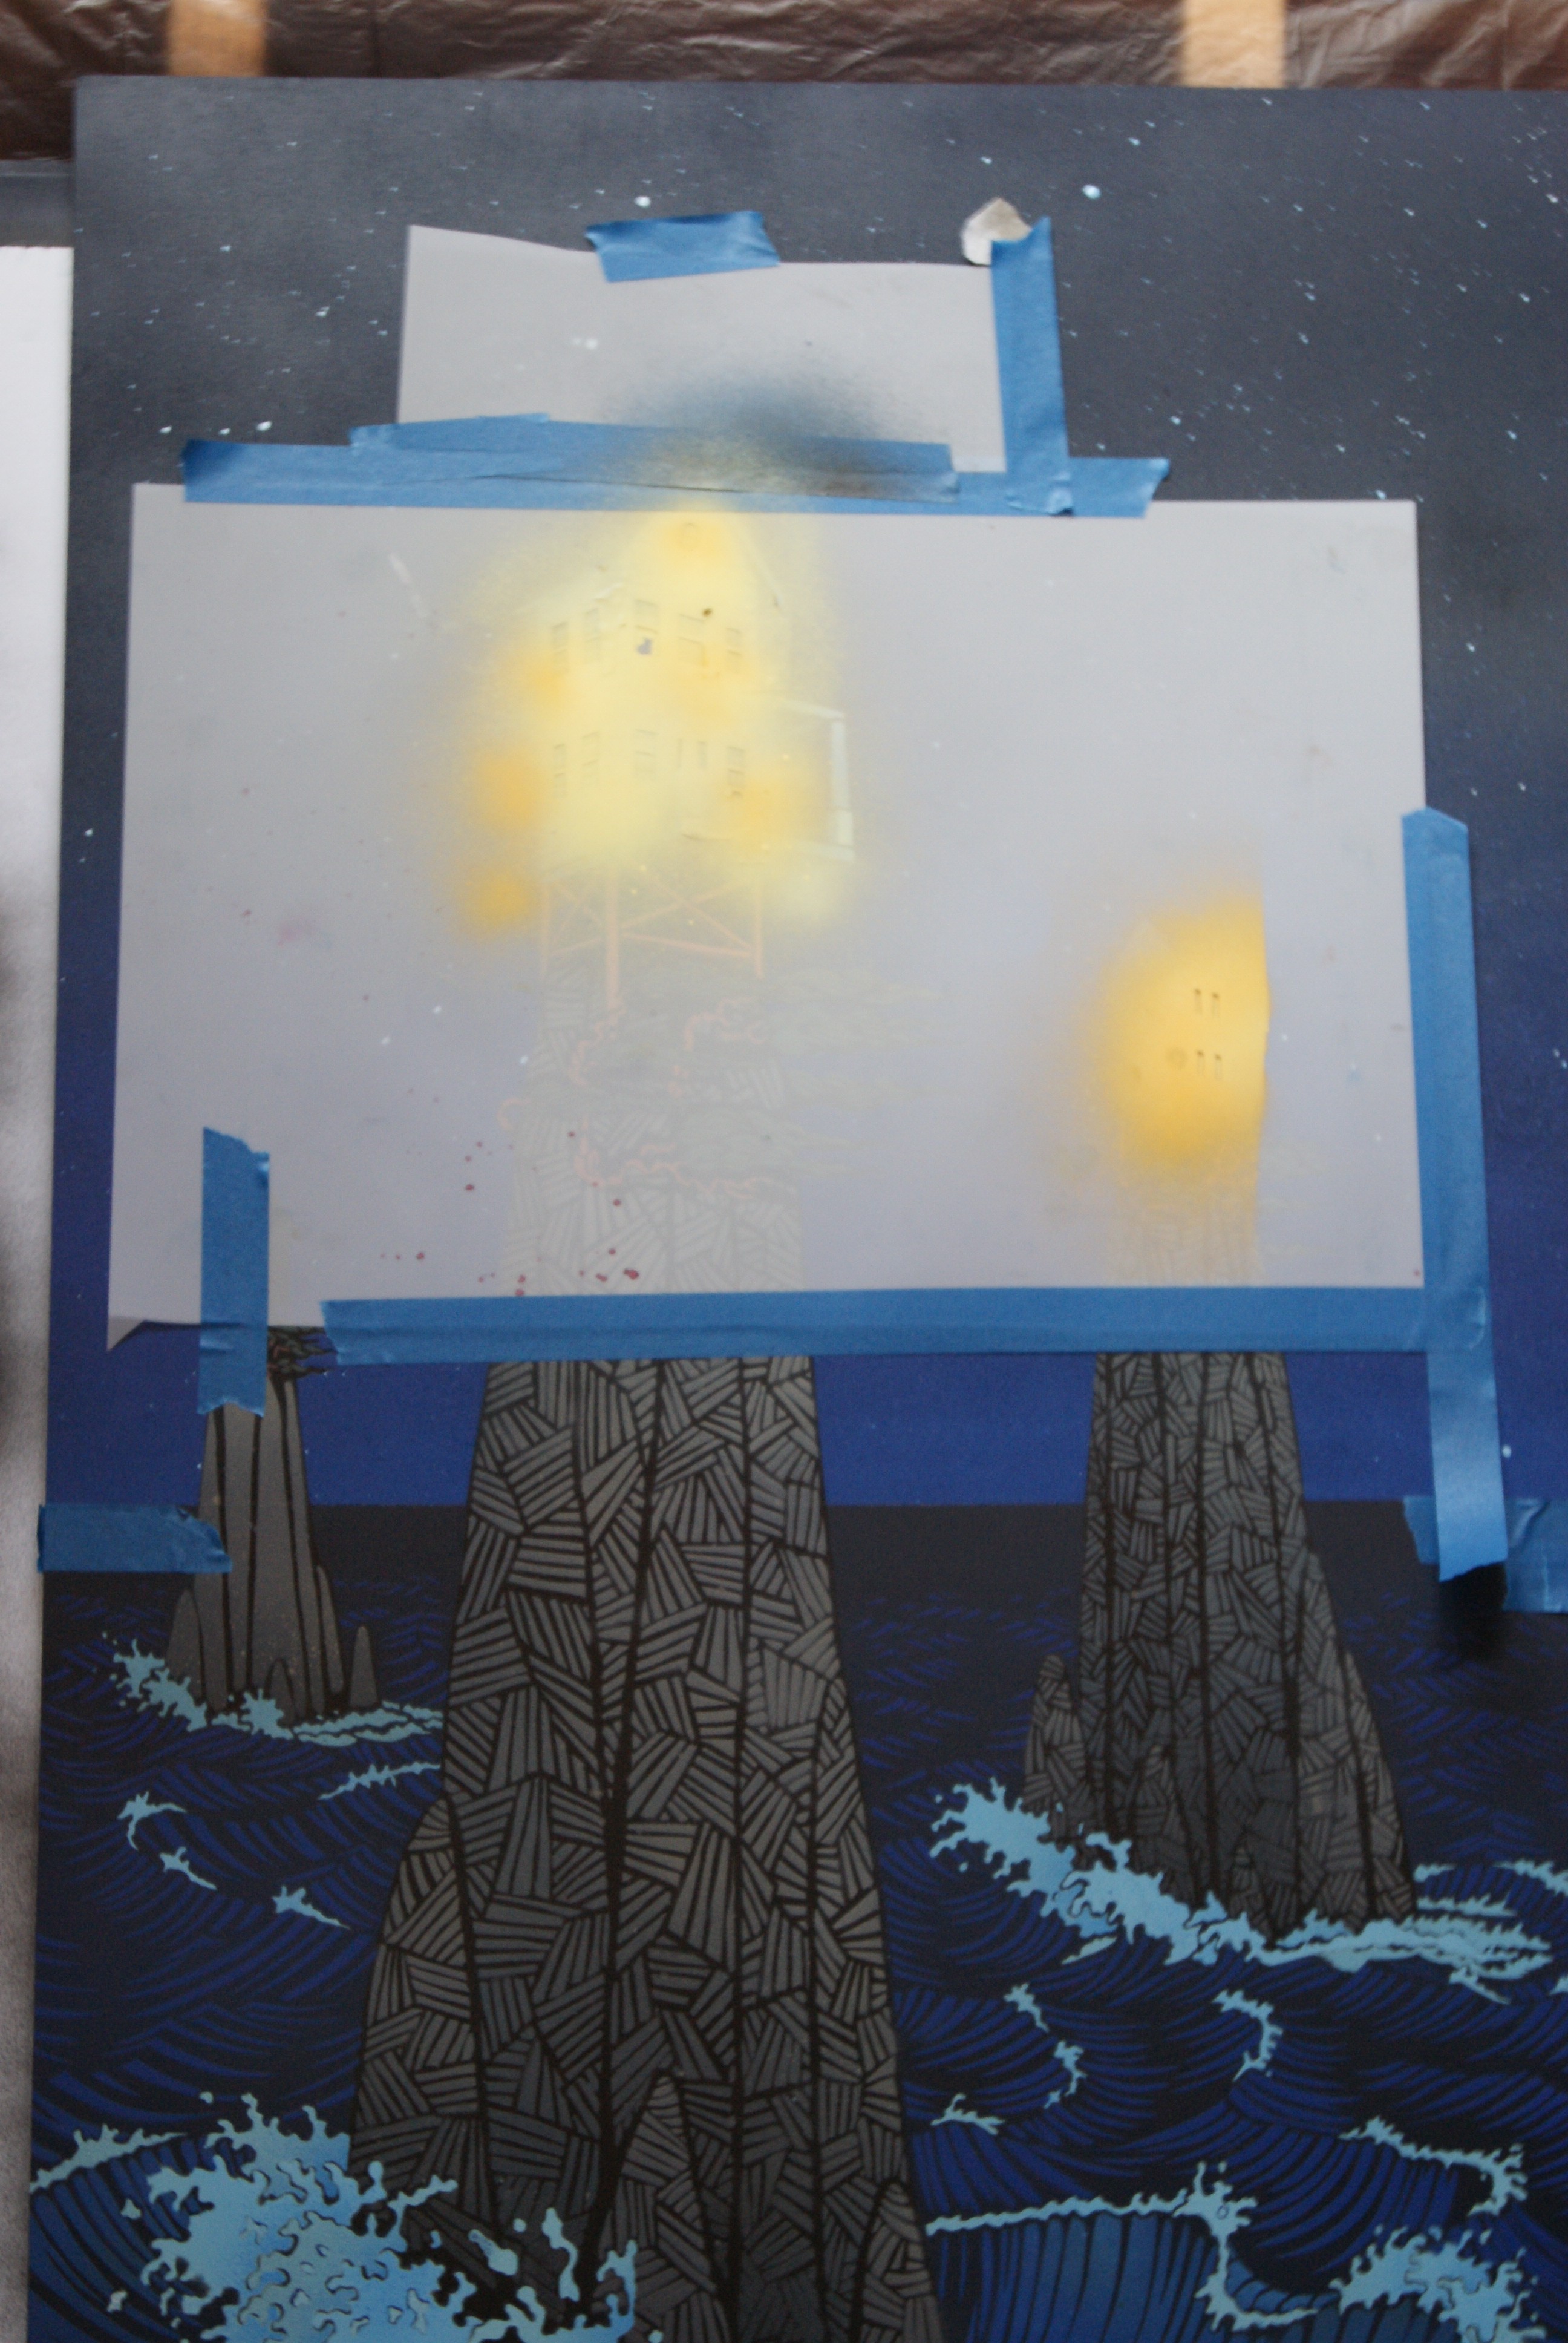
10. There were a lot of layers associated with the buildings. The final step was adding the yellow glow of the windows.
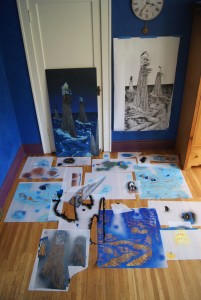
Here’s a pic of the final product with most of the stencils.
19 original hand-cut stencils were used to create this painting.
When I first started making the stencil paintings, I imagined myself pounding out a crap-ton of renditions of each… lowbrow surrealist art for the masses, cheap. I made 2 or 3 renditions of the first few paintings, but the stencils immediately became opaque and covered in paint, and they got pretty messed up. Also, the more complicated my images got, the more impossible it seemed to continue to layer them with the precision needed after the stencils were painted over.
Though totally counterintuitive, and, perhaps, unwise, the vast majority of my stencil spray paintings are, and will remain, single creations.
Giclee prints on fine art paper are available of many of my paintings to keep them as affordable as possible for those that want one and not concerned with having an original.
Paintings produced this way have a particular aesthetic. Like silkscreens or block prints, they have a flatness to them. I choose to include a black line surrounding most of the shapes and figures in my compositions. As mentioned earlier, the black lines are what remains from the initial painting of the entire board in black. This approach takes some extra work and precision cutting, but I like the illustrative quality this provides. “Black line” has its roots in traditional Japanese woodblock printing. This tradition carried through into the development of modern cartooning and comics.